Silt 100% Walkthrough (Full Game)
In this step-by-step walkthrough we will show you how to solve every puzzle, get every collectible and defeat every boss from start to finish in Silt.
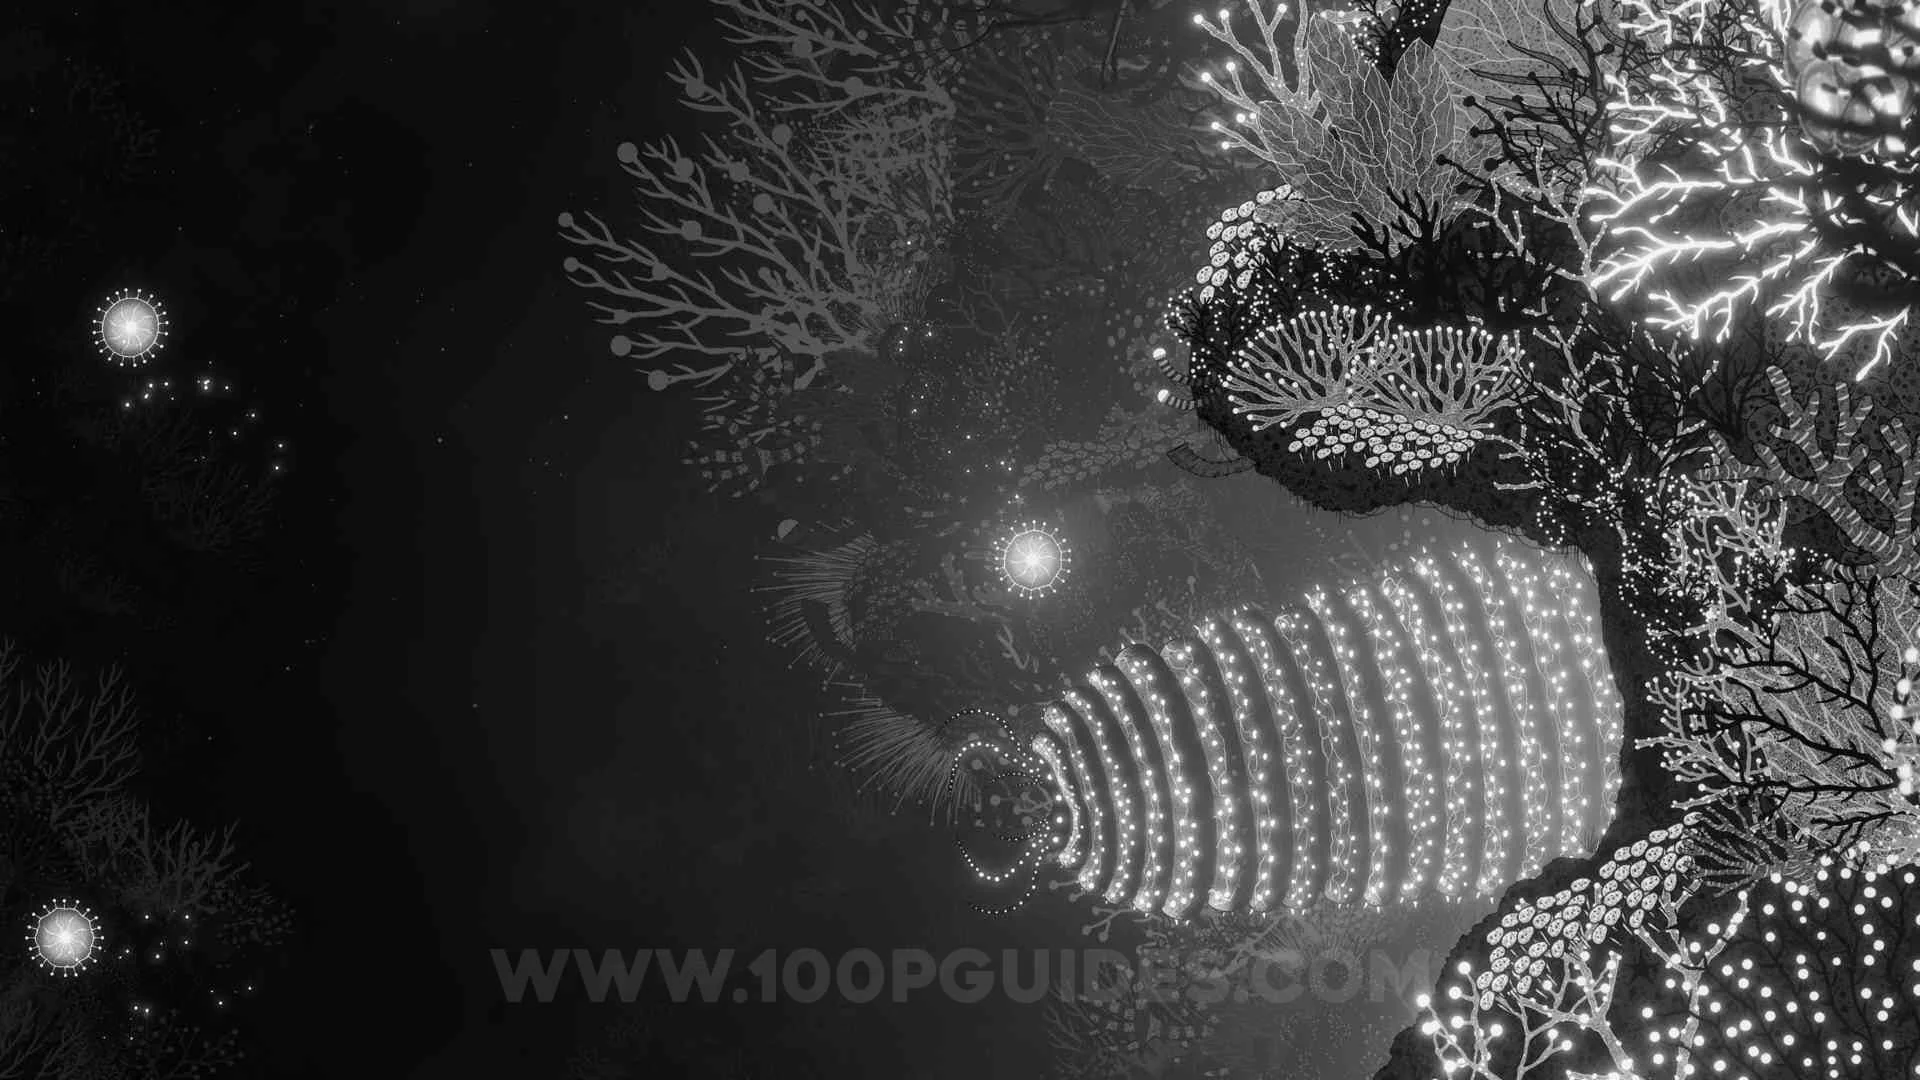
Chapter 1
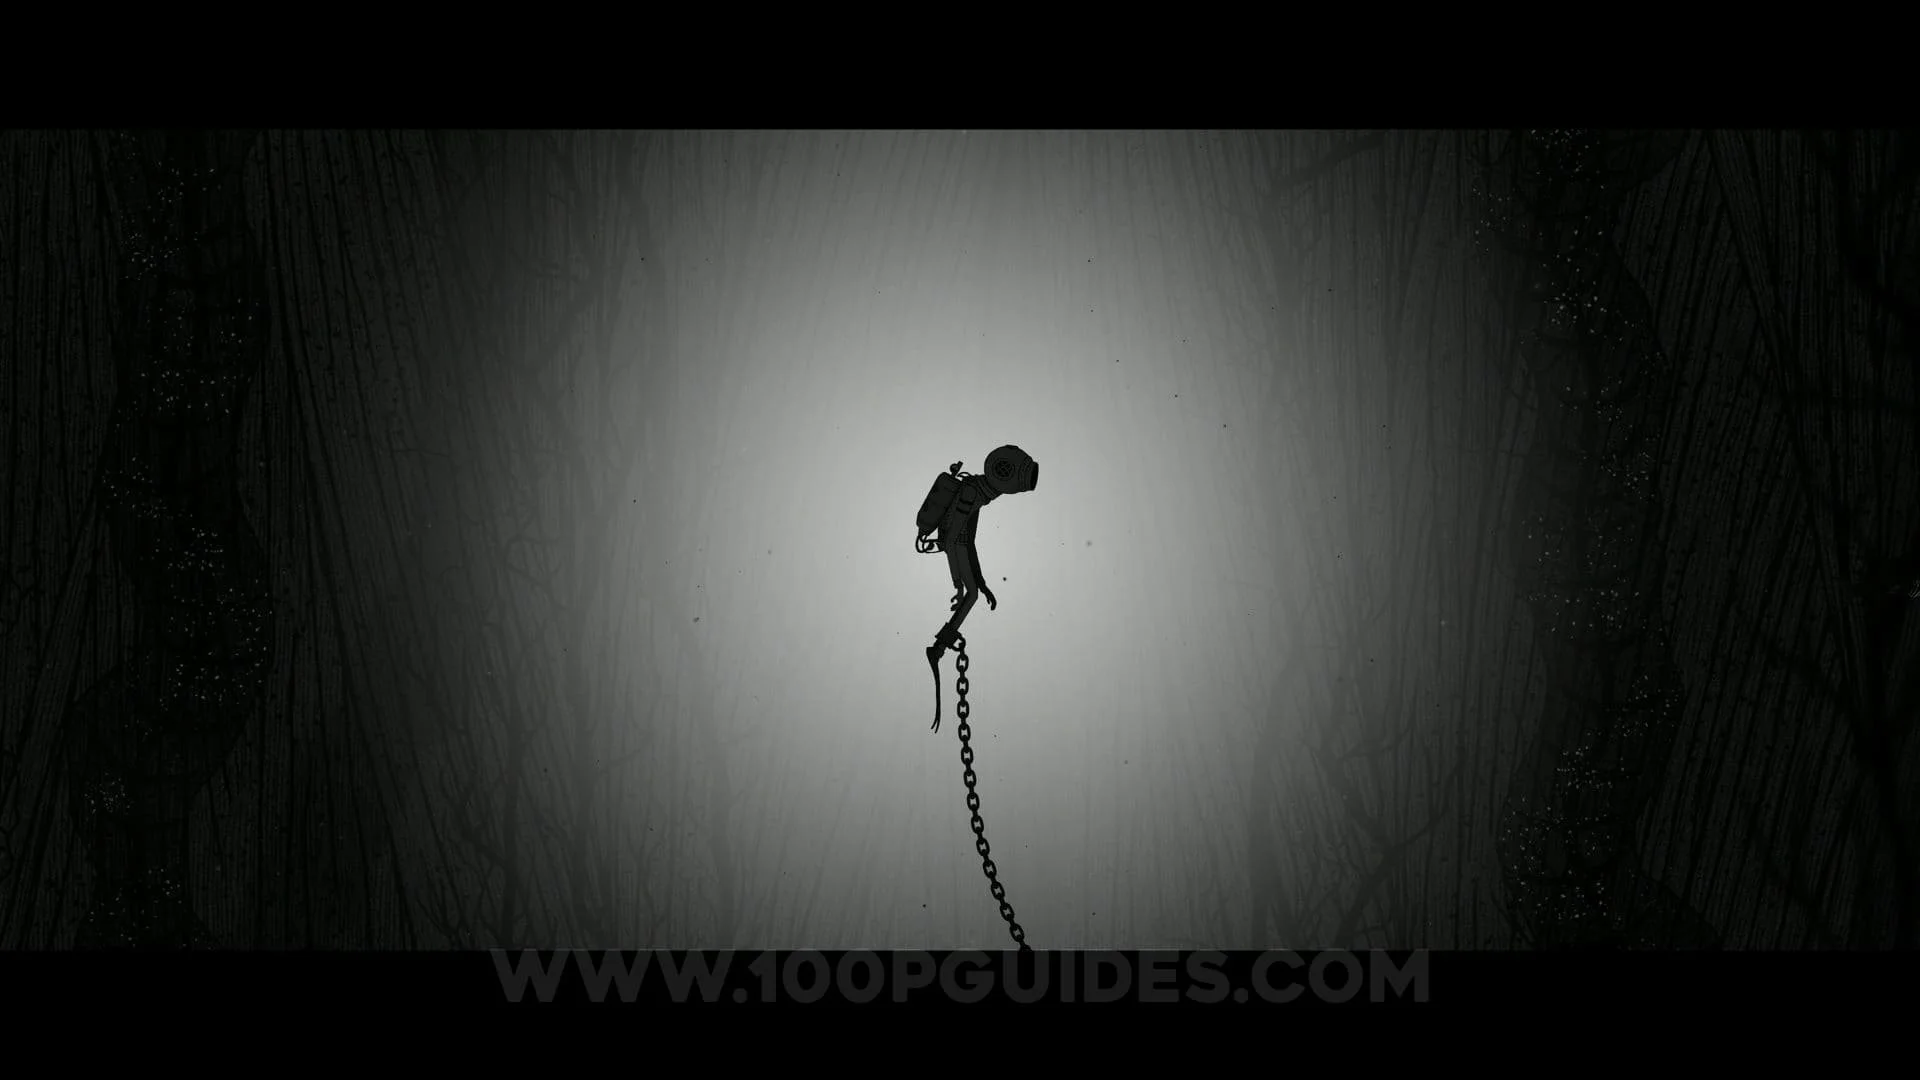
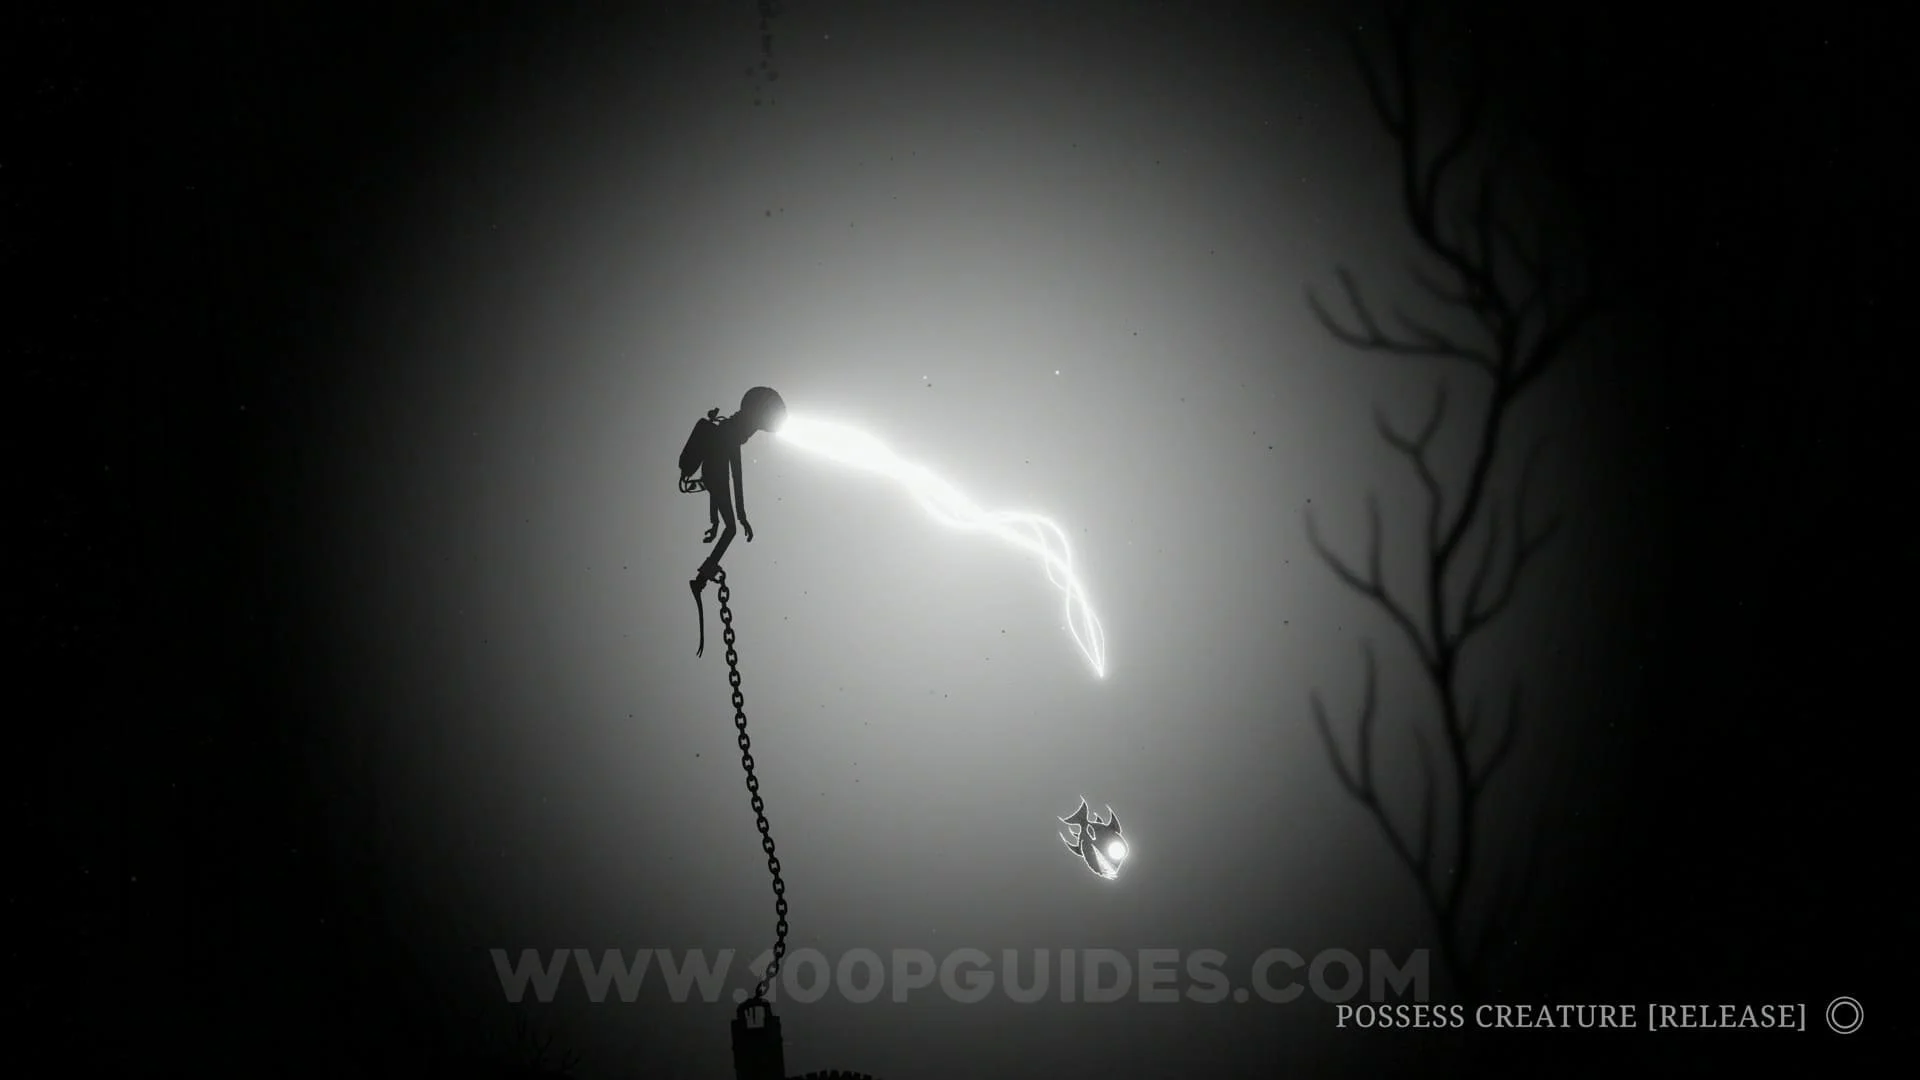
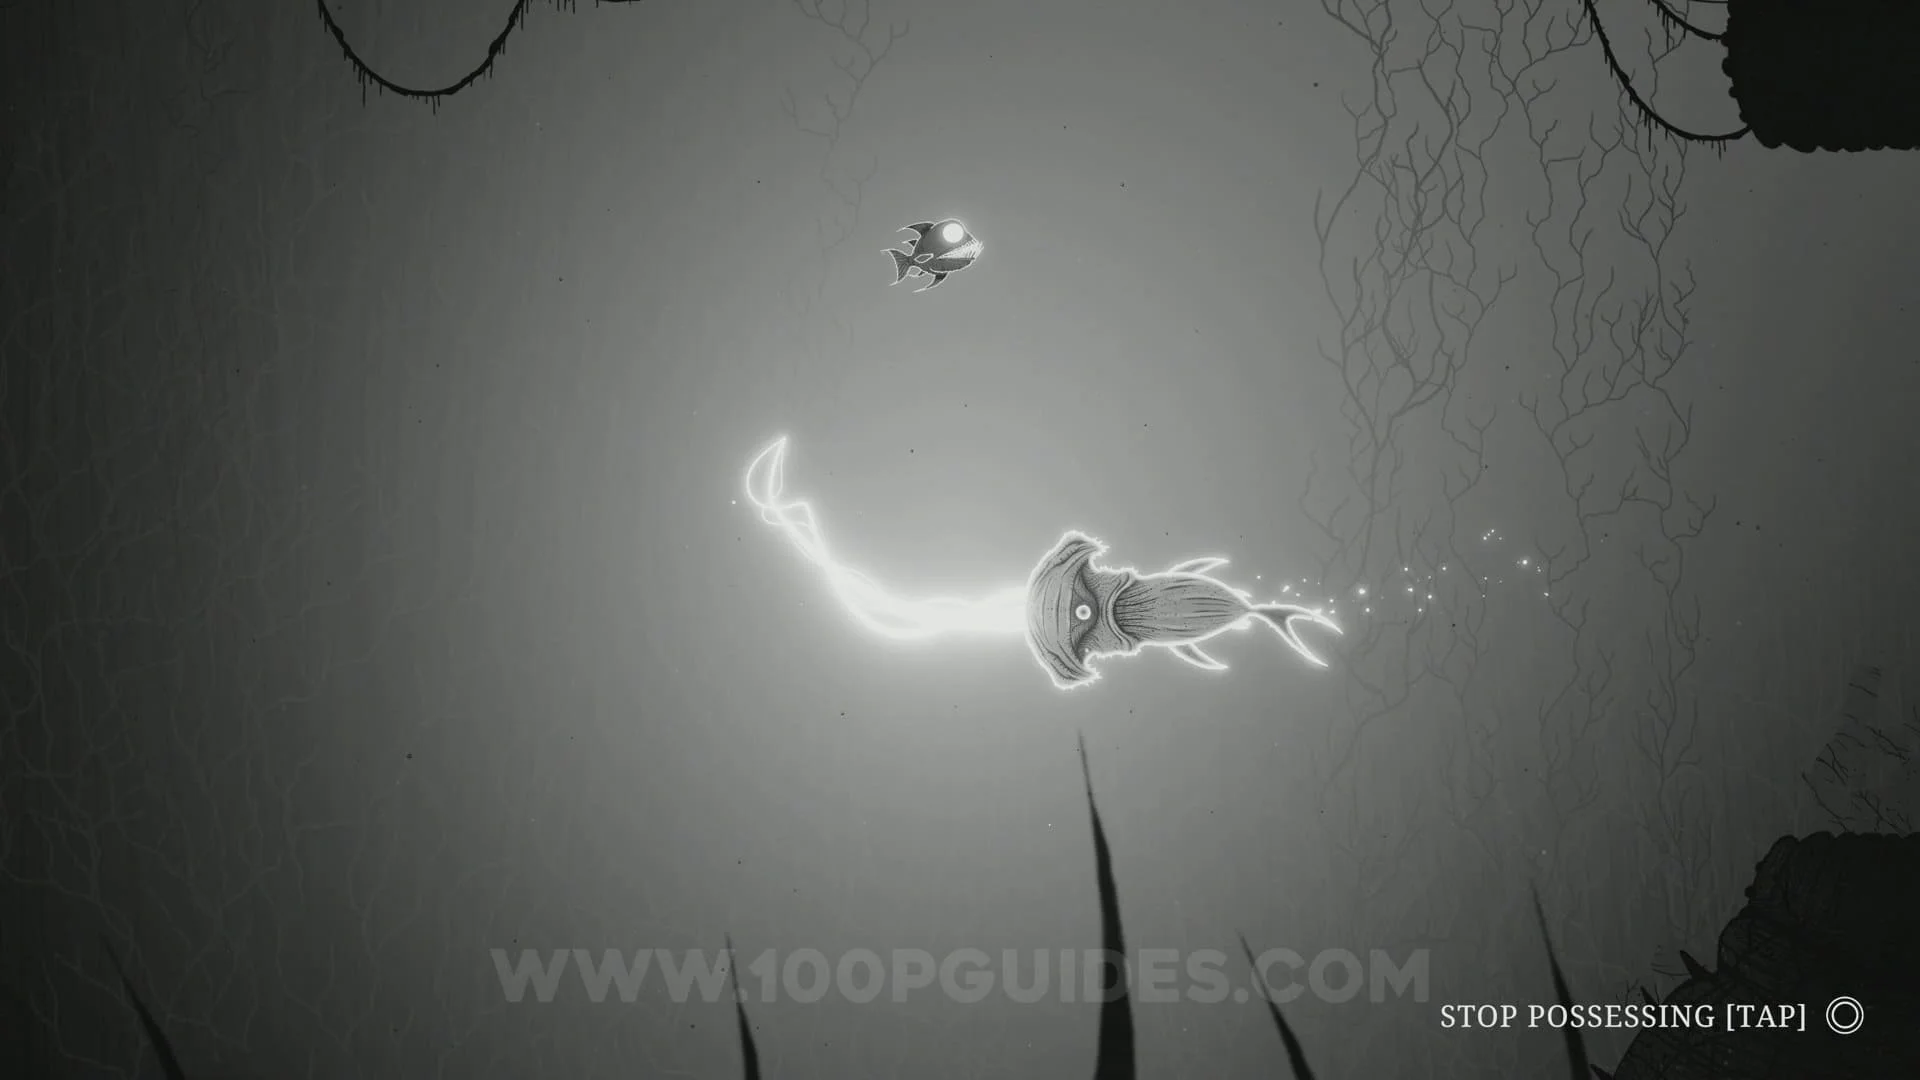
We start Silt chained up at the bottom of the ocean. So our first objective is to get free. To do so you will have to press the possess button (O on PS, B on XBOX, A on NS & Ctrl on PC) and posses the piranha that is swimming around us.
Now you will want to use the piranha's ability (SQUARE on PS, X on XBOX , Y on NS & E on PC) to break the chain and set the character free.

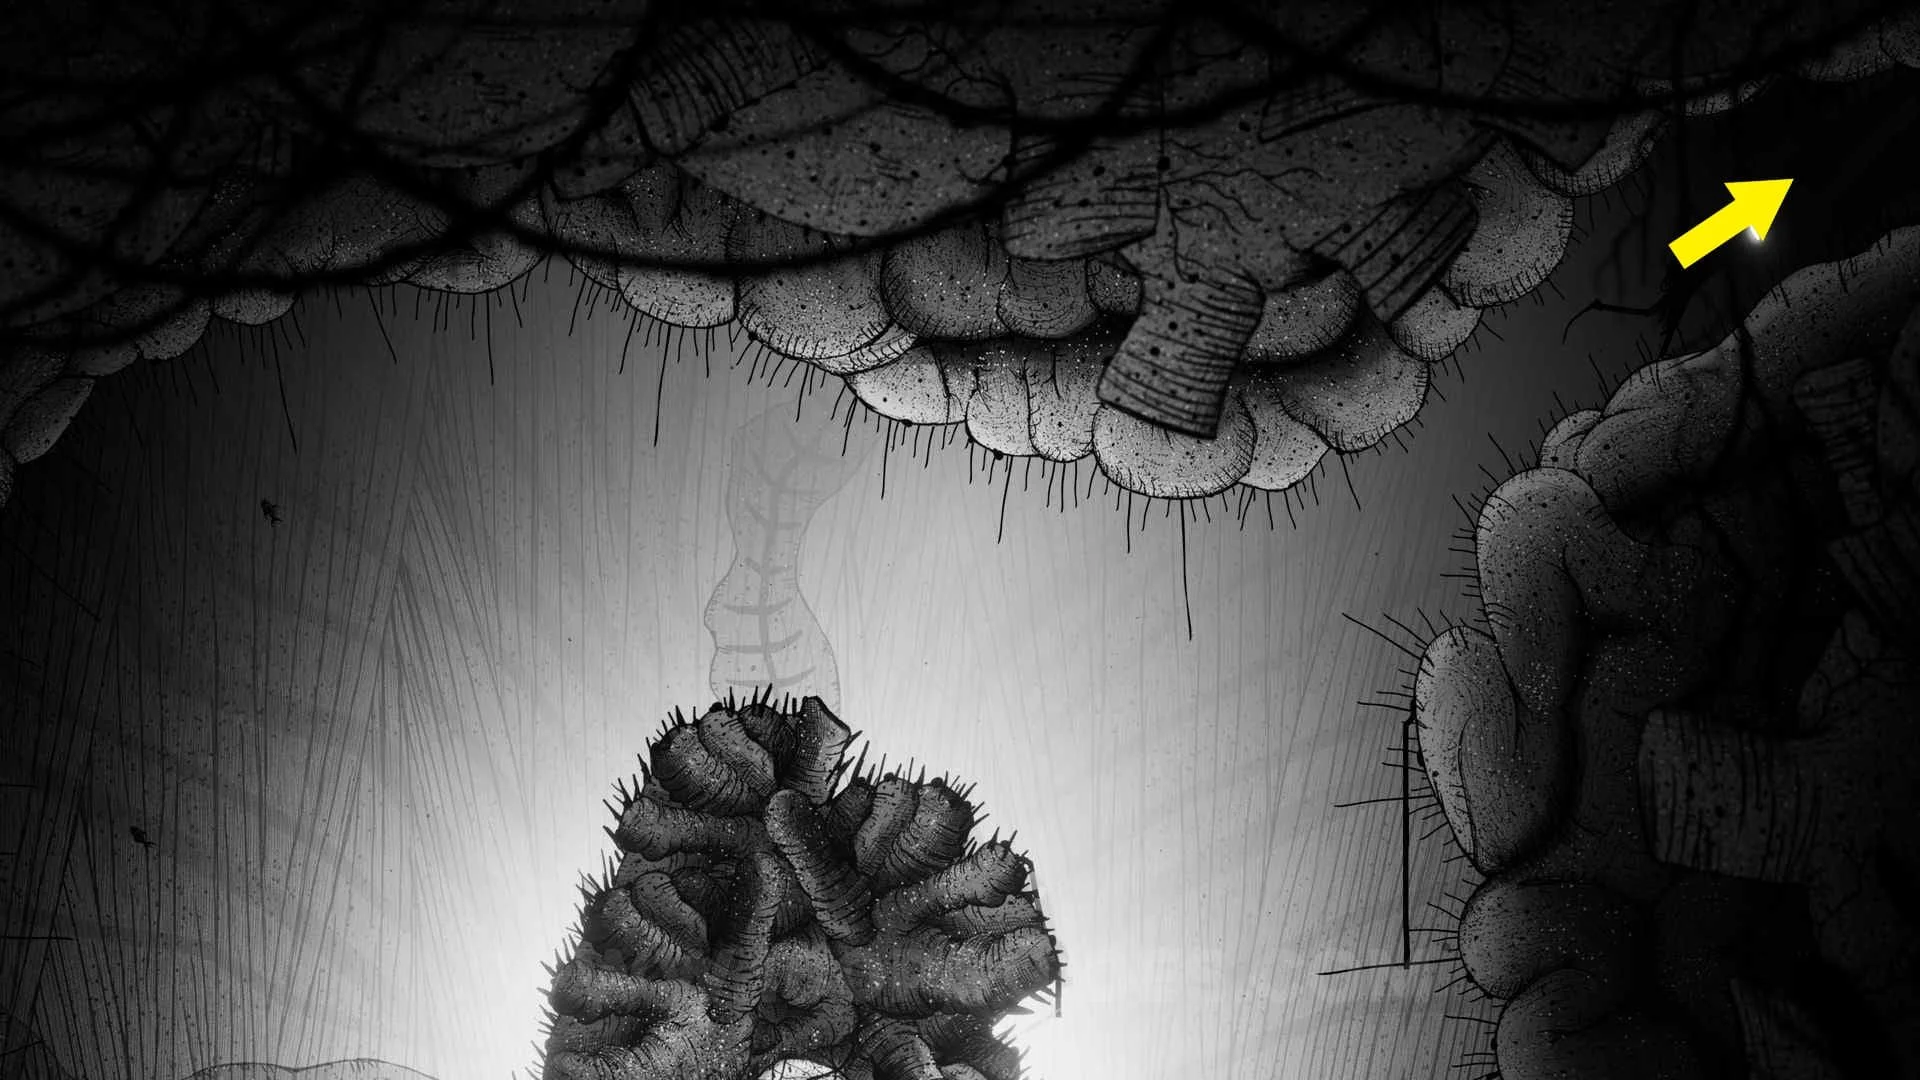
Now swim up and enter the next area. Here you will have to possess the little fish swimming around since they can fit through the tiny gap on the left. Once through the gap, possess the piranha that can once again break through the ropes with it's ability. Allowing our character through to the next area.


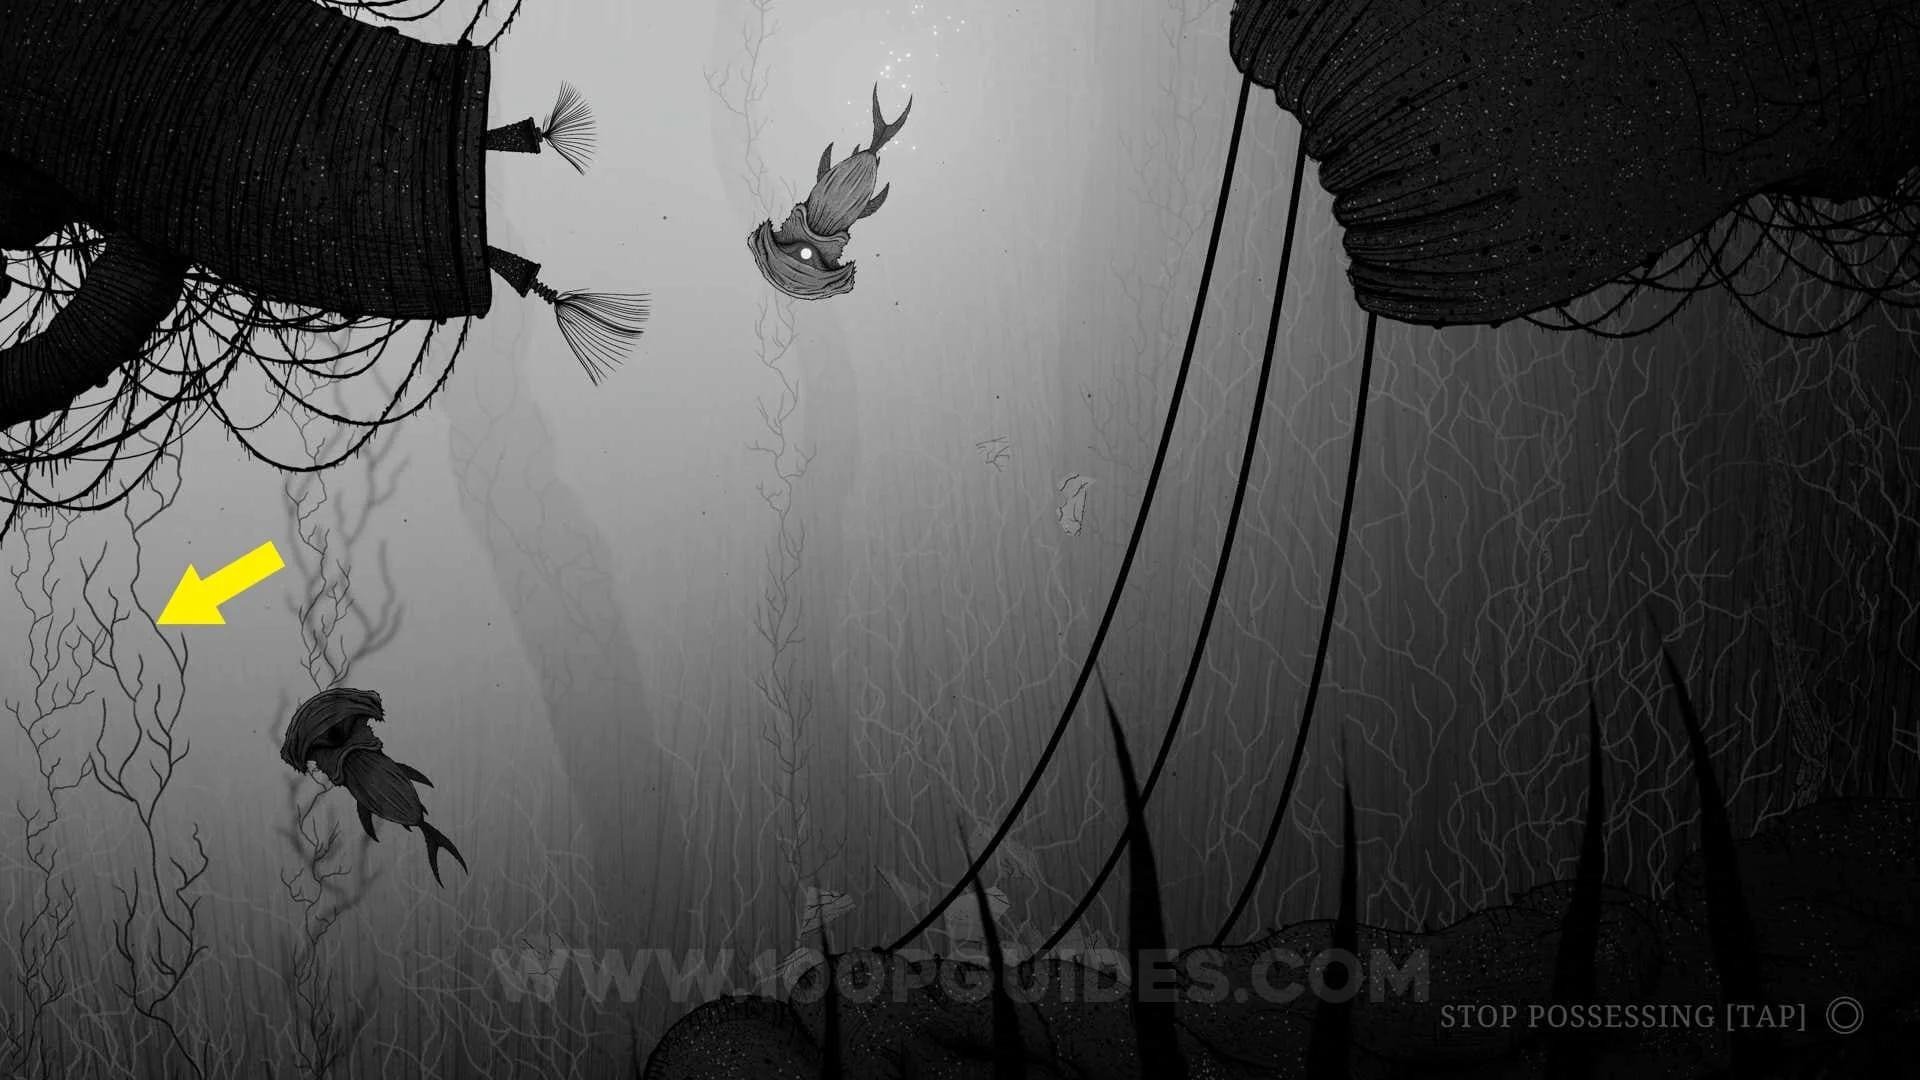
In the next area, possess the hammer-head type creature and use it's ability to break the glass on the right. Keep controlling the hammer creature and go down to the left to shatter another glass panel. On the other side you will want to possess the piranha that can be used to cut the ropes on the bottom-right of this area.


Now you will be in an area with a massive heart in the middle. Here possess another hammer creature and use it's ability to break the wall on the right to move to the next area.

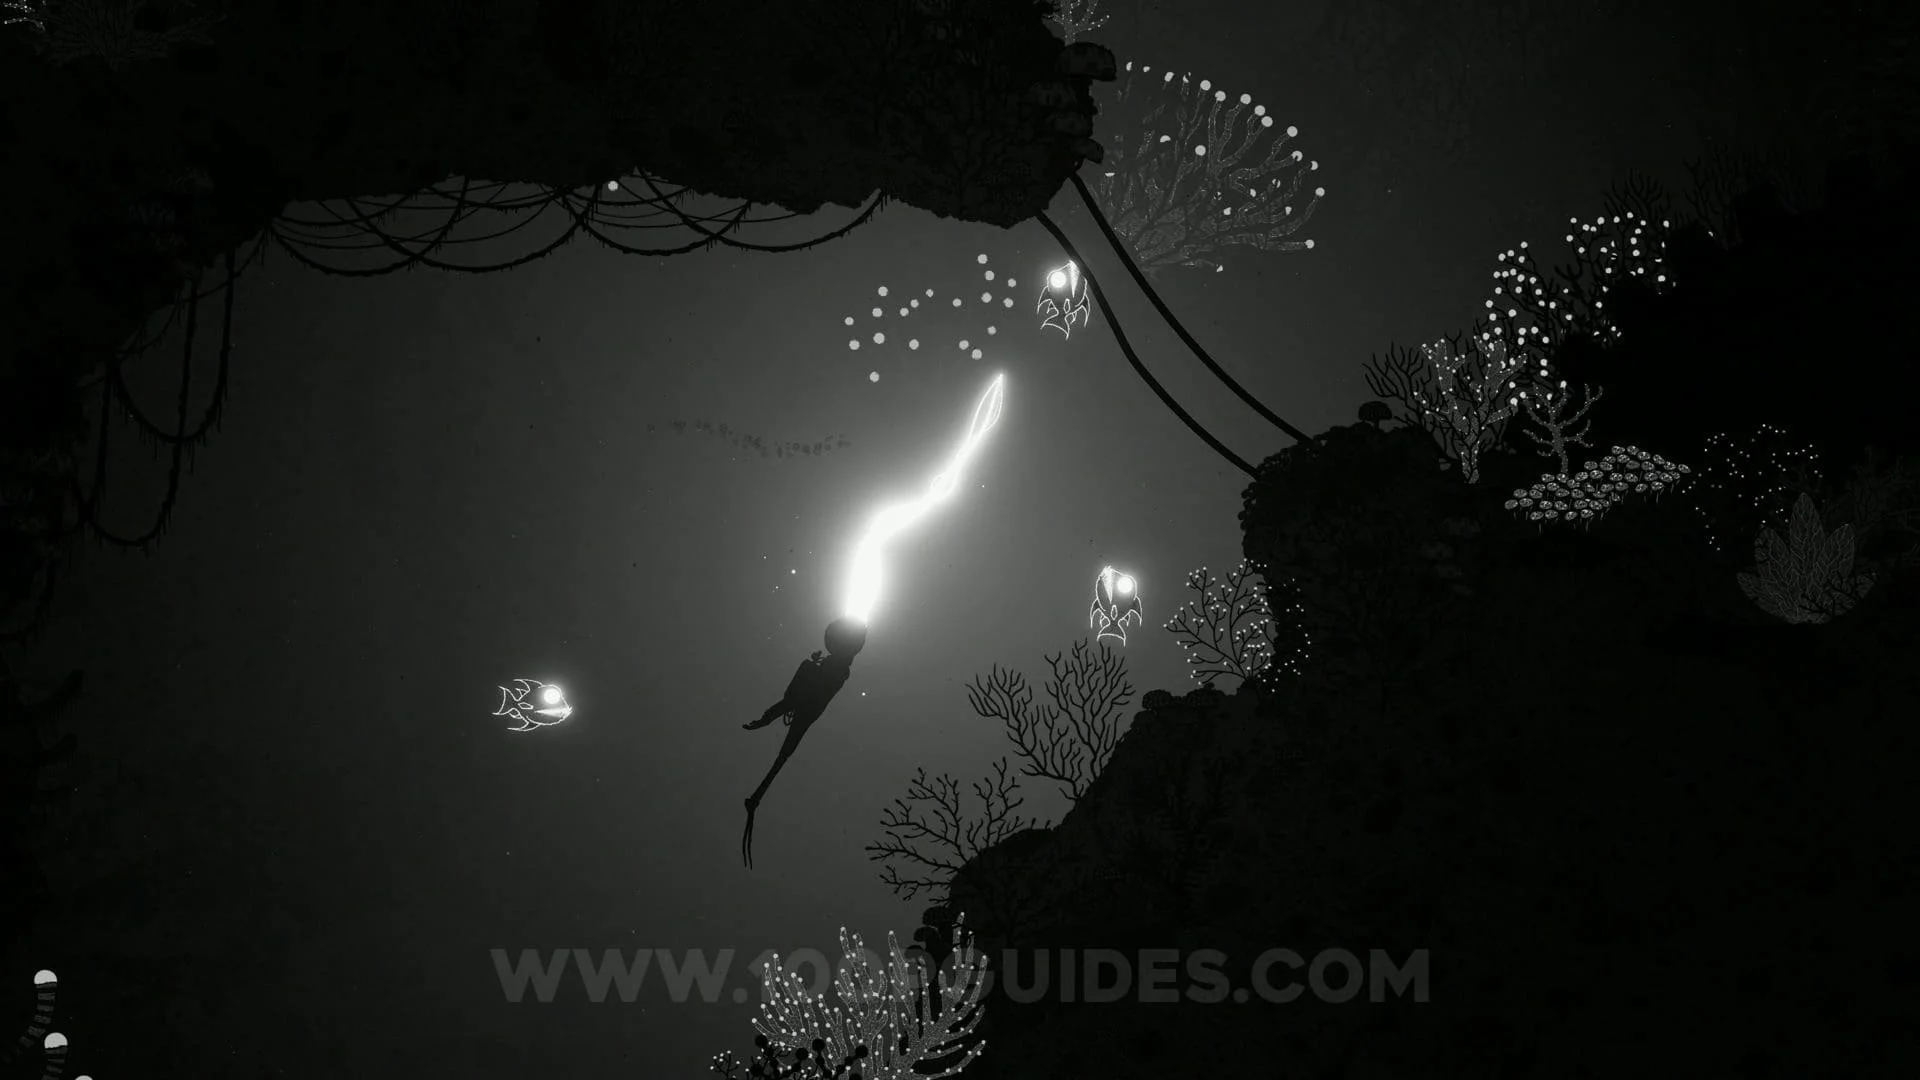
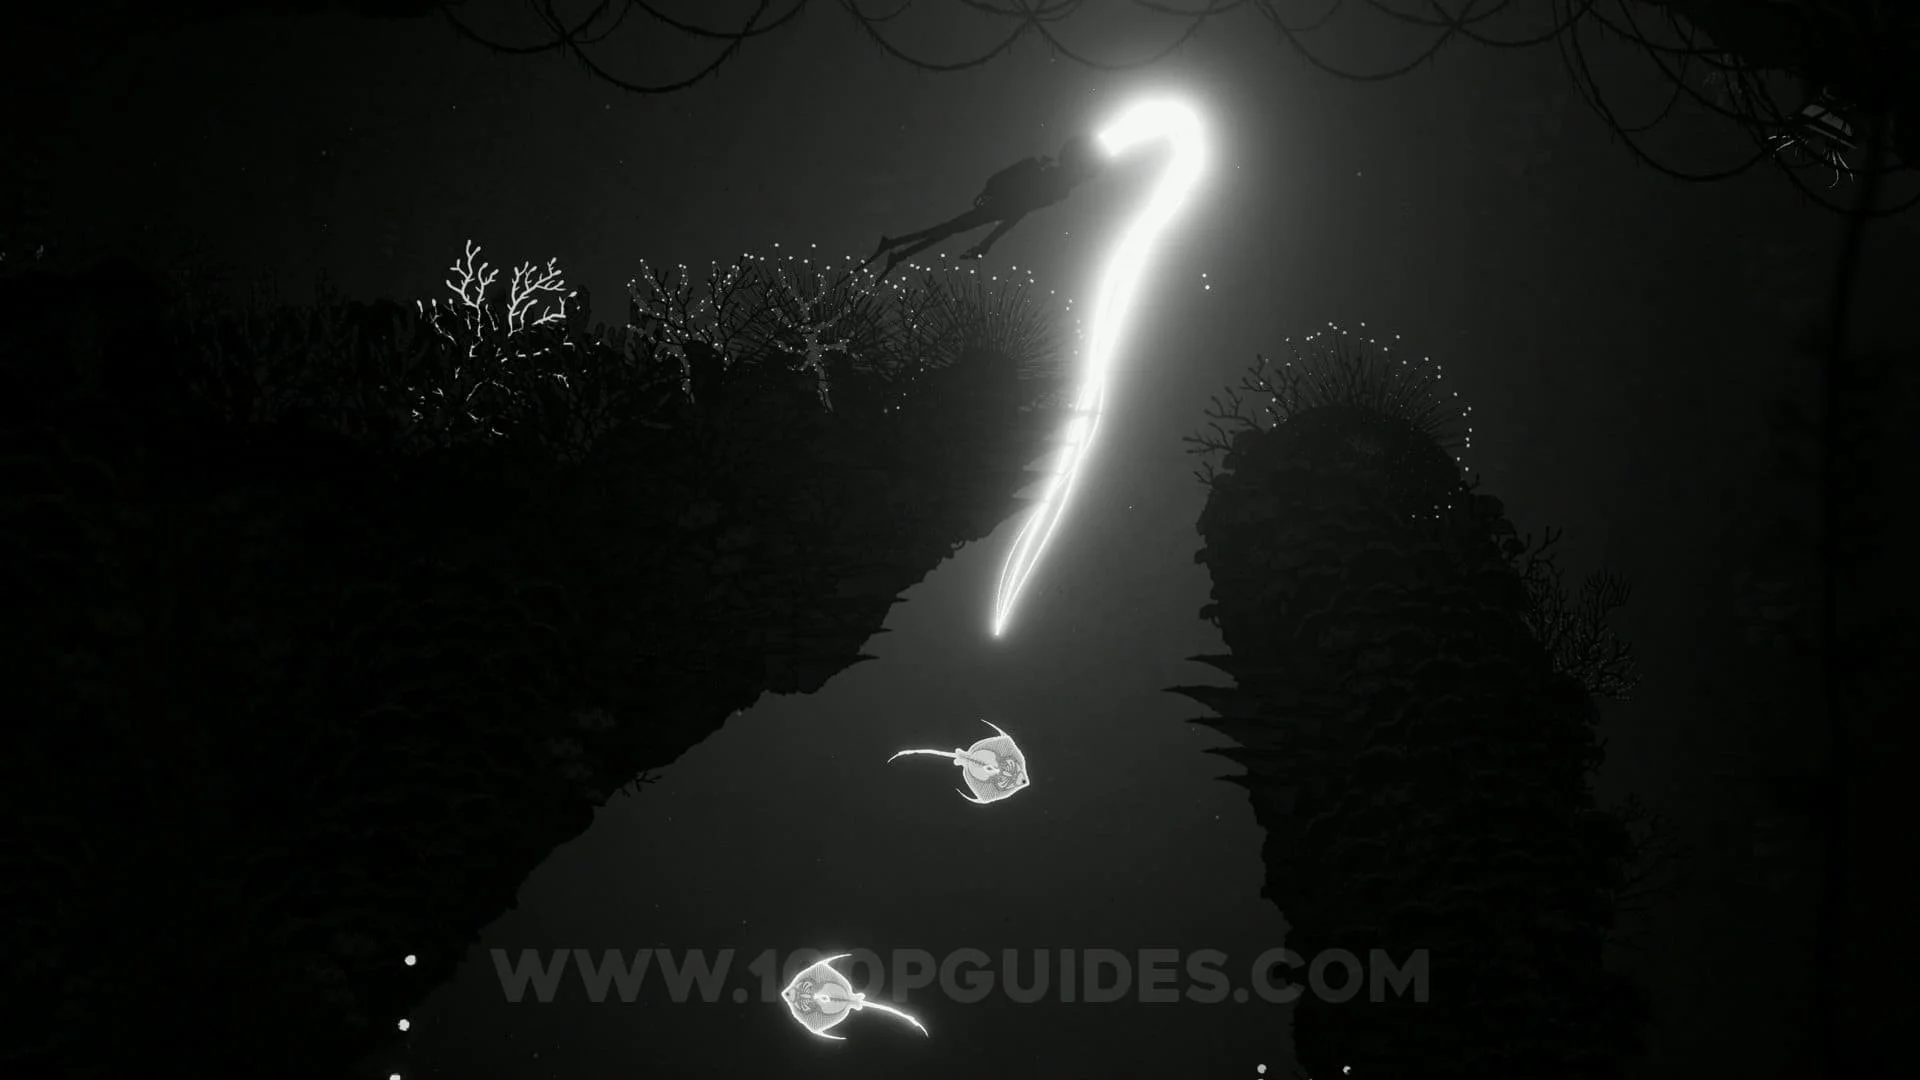
After emerging from the mouth of a massive creature you will follow a glowing ball through a small tunnel. Here make sure you are always holding down the "swim faster" button (X on PS, A on XBOX & B on NS) so you don't get caught by the leech type creatures.


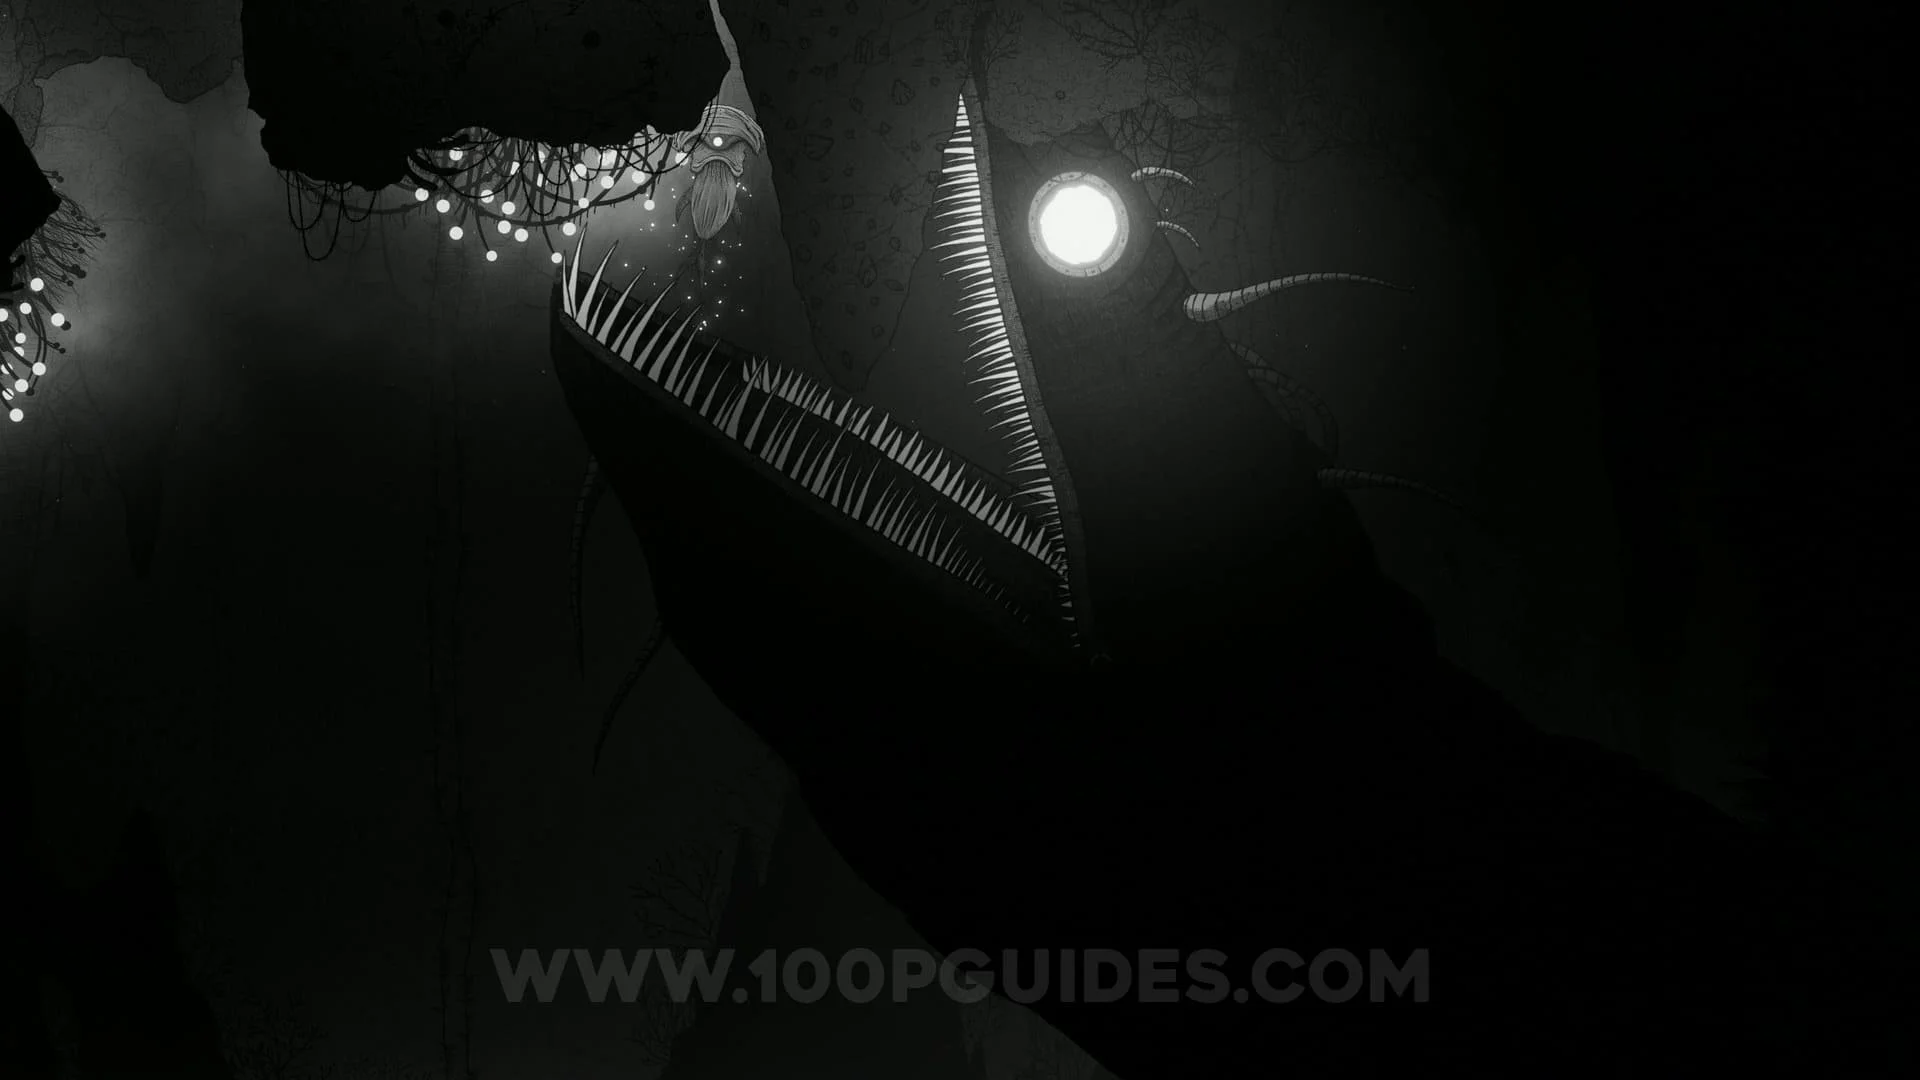
Chapter 1 - Boss Fight
Once the glowing ball gets to the end of it's path, it will reveal itself to be part of the first goliath "The Gulper Eel".
First you will have to bait the boss to attack, then quickly get behind the rock above you. The boss should break it and allow you to go to the area above with the piranhas.


Now you will have to possess a piranha and go to the left part of the level where you can now bite the rope and release a rock.

Next, bait the boss to attack you as you get behind the rock that was released by the rope. This will destroy the rocks below you.
In this new area, possess the hammer-head fish and break the rocks found right above the boss. This will release another rock. (📝 also remember to hold the possess button down next to the diver in the area with the hammer-head fish while controlling your character to get the first collectible in the game).


Finally, bait one more attack from the boss and hide behind the rock that was released above. This will allow you to hold the possess button on the boss to finally defeat it!

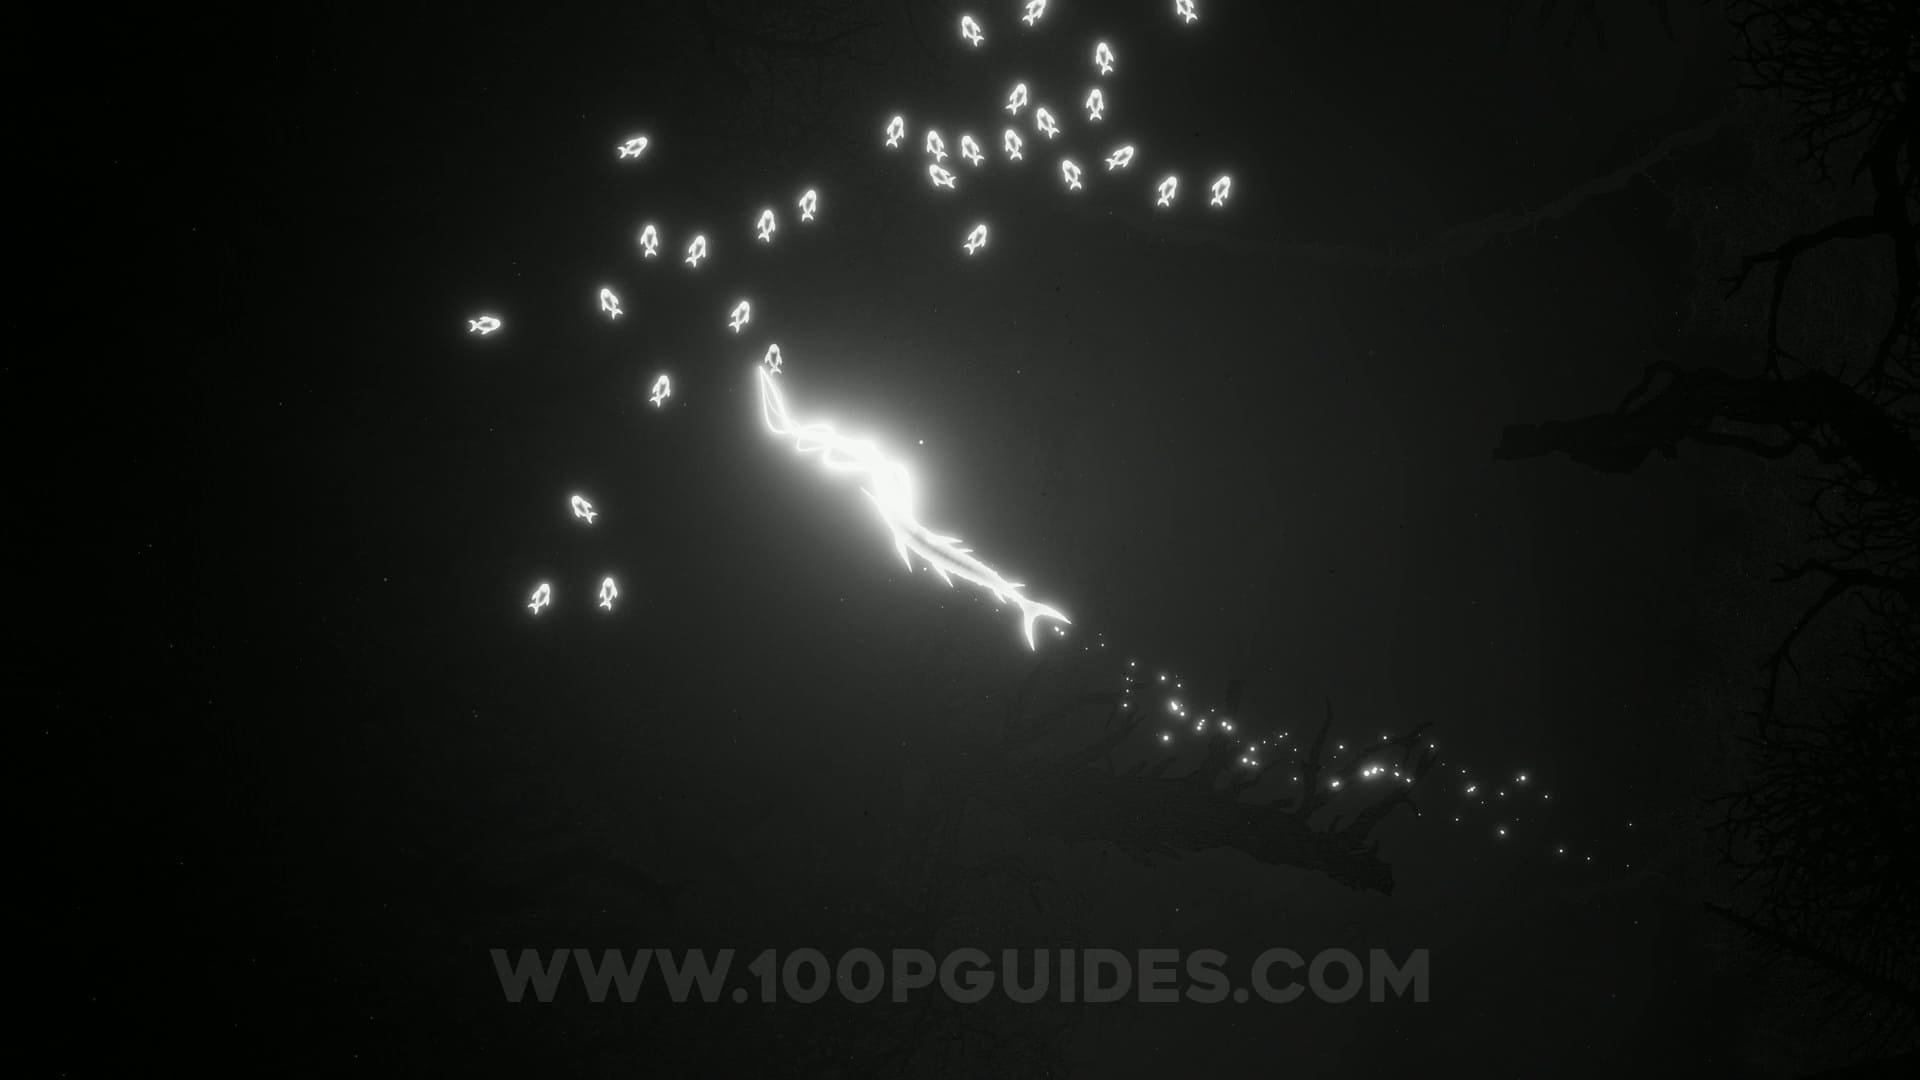
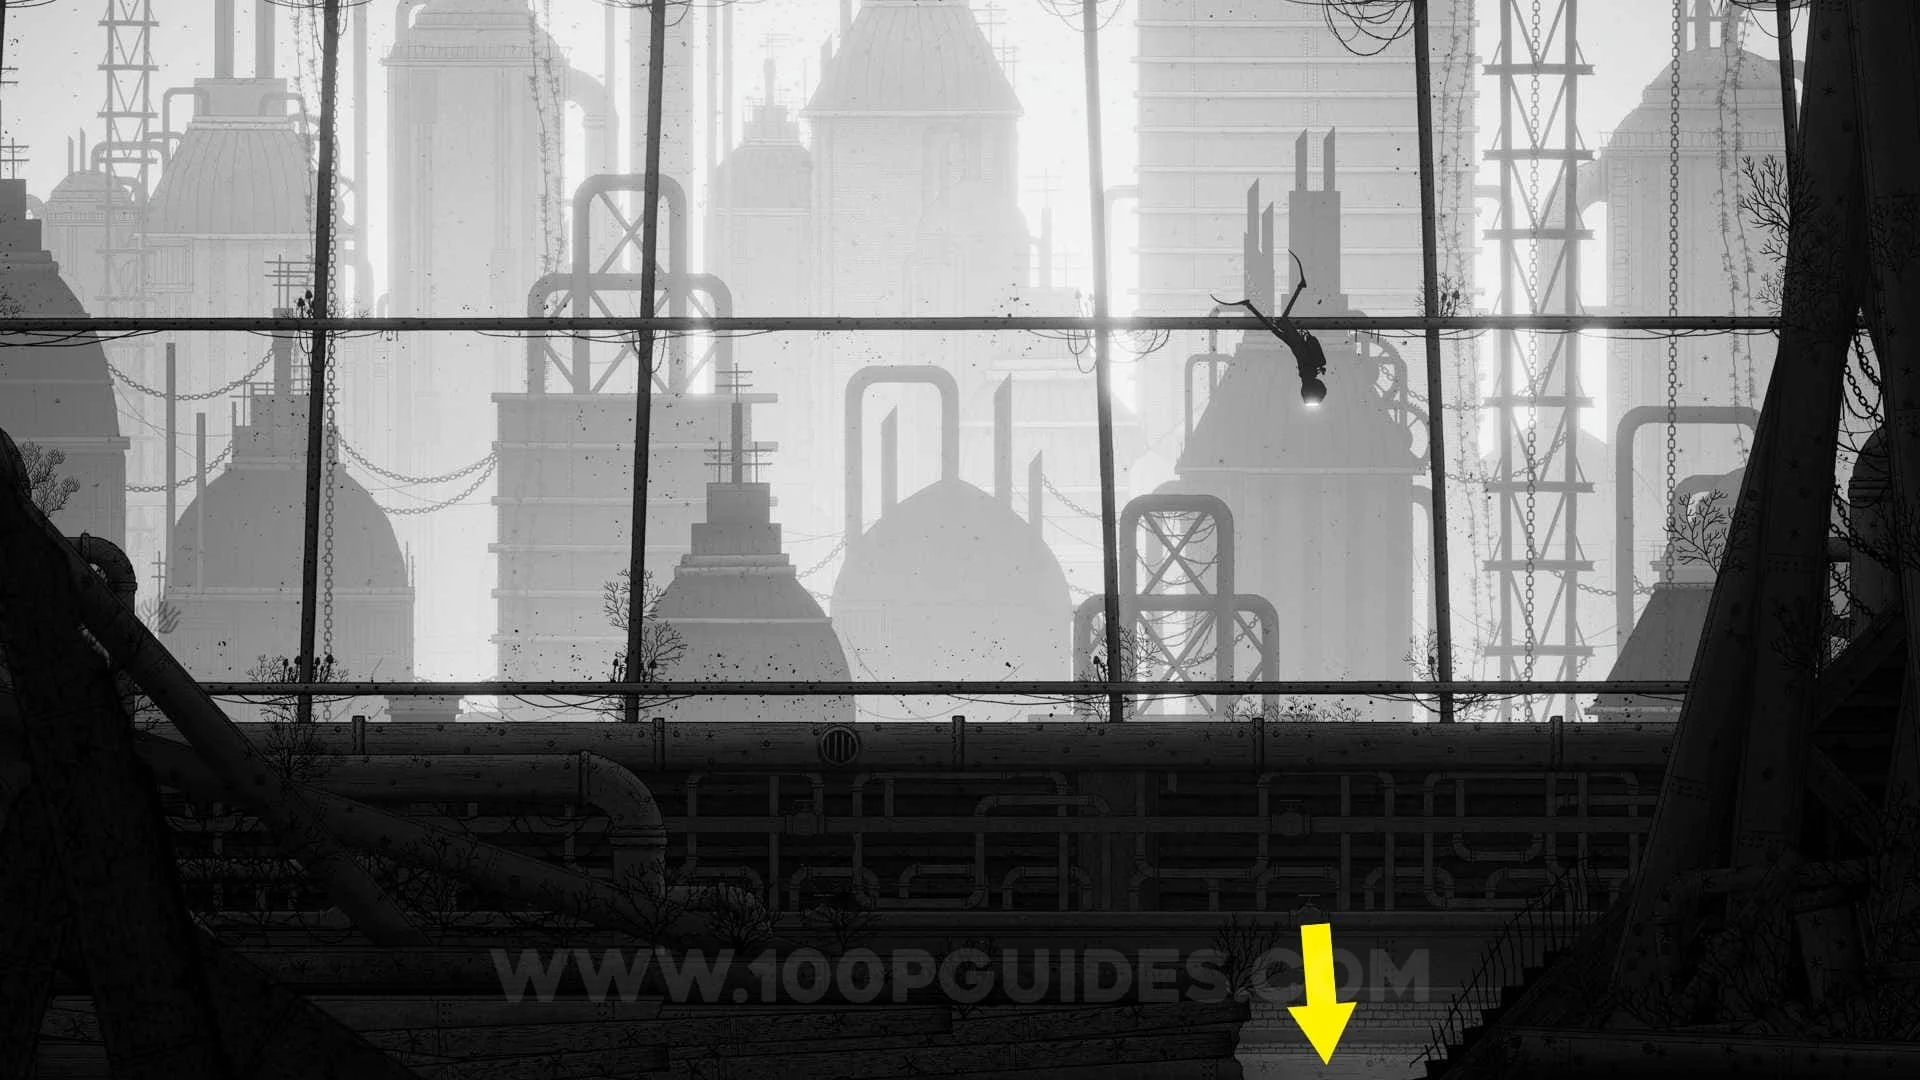
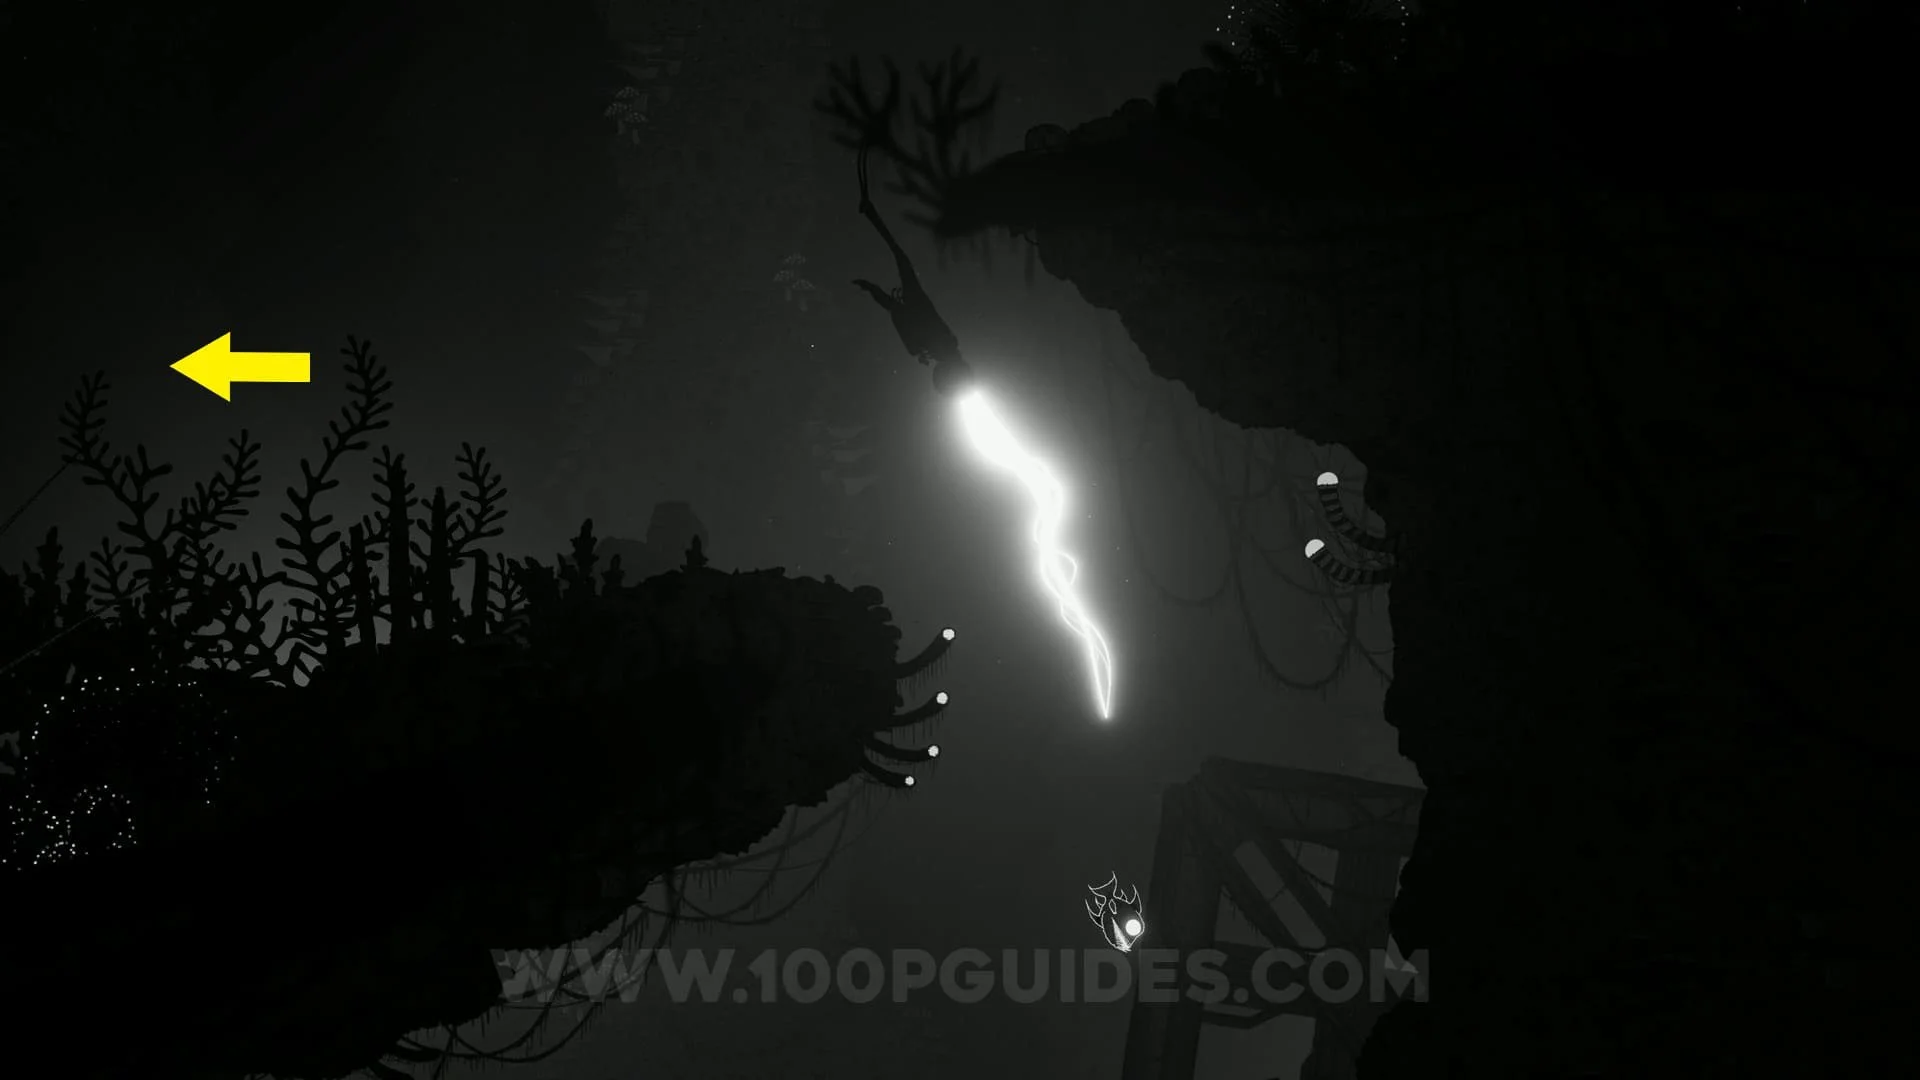
After absorbing the boss, you will be in a strange empty area where you can swim in all directions. Here you will want to swim to the right until you get to a massive structure that will open up allowing you to go inside. Once inside continue to go to the right until you see a circle rune with the image of the goliath you just defeated. Swim in front of it and hold down the possess button to start chapter 2!


Chapter 2
At the start of chapter 2 you will want to go up to get to the first area. Here possess the little fish and swim close to the flowers in the area for them to release a toxic cloud. Now swim through the dark toxic cloud to infect the fish. Next swim up and bait the carnivorous plat to eat the fish to destroy the vine blocking the way to the next area.

In the next area you will want to possess the new long type of fish. Now swim past the carnivorous plants by holding the "move faster" button until you get to a large group of small fish. Now possess the group of small fish and swim to the right and use the toxic cloud released by the plants. Now use the infected fish to kill the carnovouros plants that you previously passed with the long fish. This will allow your character to get past and move on to the next area.


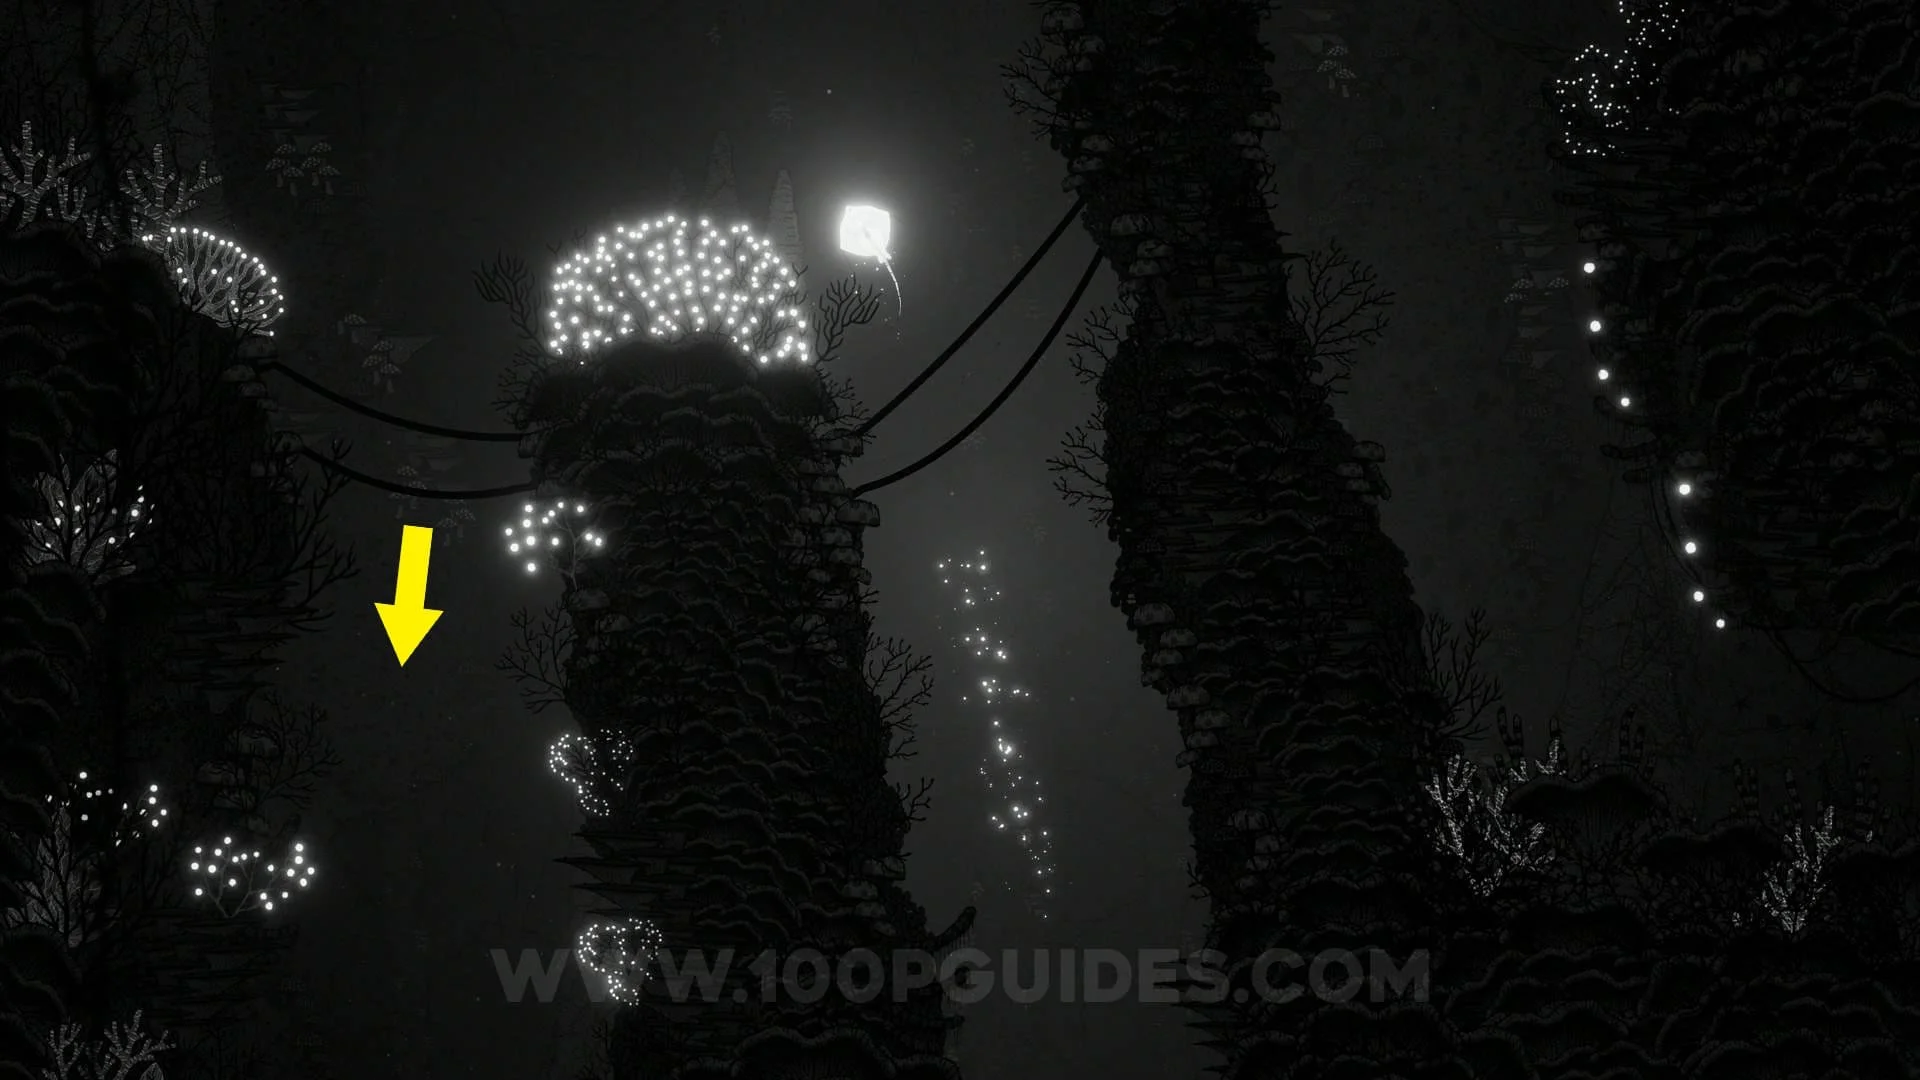
You will now be in an area with a tree in the middle. This tree will have 4 "birds" that need feeding around it. The first worm needed to feed the birds can be found here in to the left of the tree. You will have to look for the other 3.


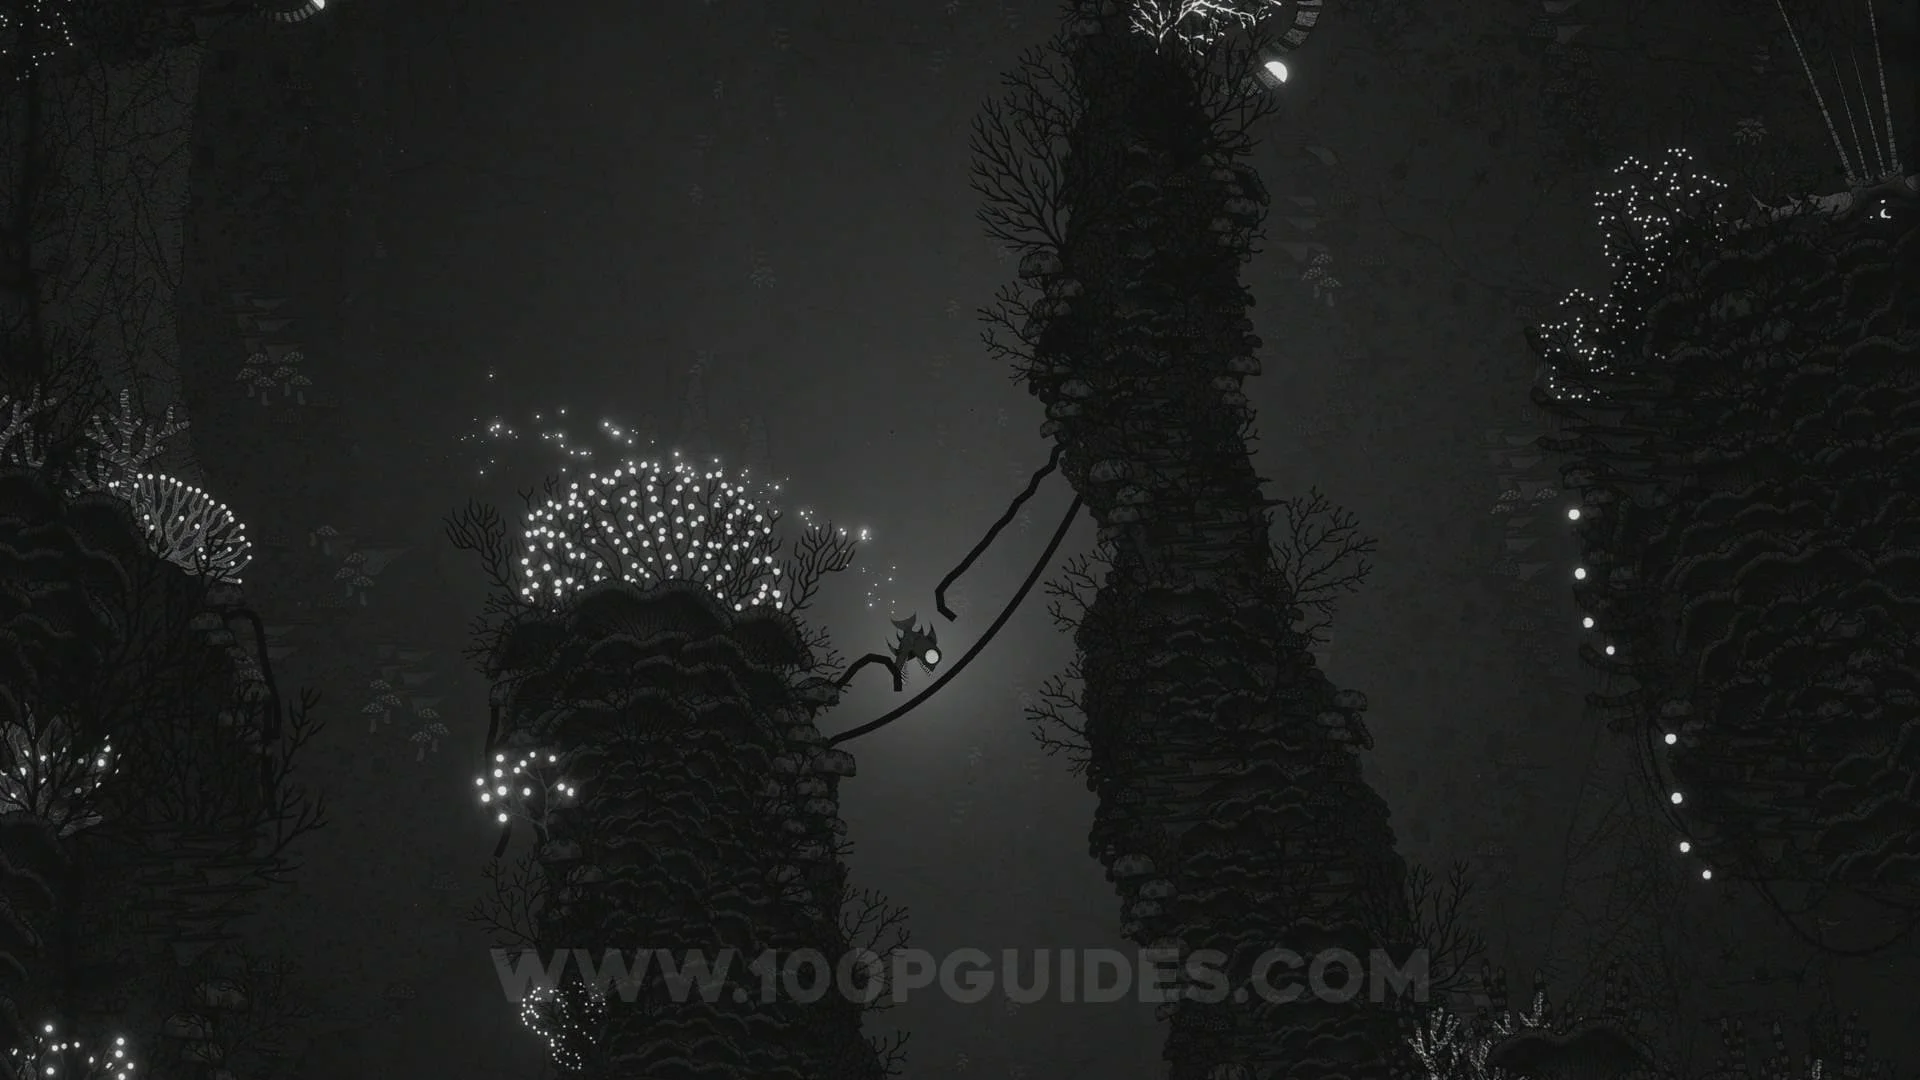
First exit the tree area through the path at the top left. Here possess the long fish and swim past the plants to reach some toxic plants found in the top-right corner of this area. Once you are infected continue swimming down and infect the plant that is next to the vine. This will now allow your character to swim through to the right and get the worm you will have to return to the main tree to feed another bird.


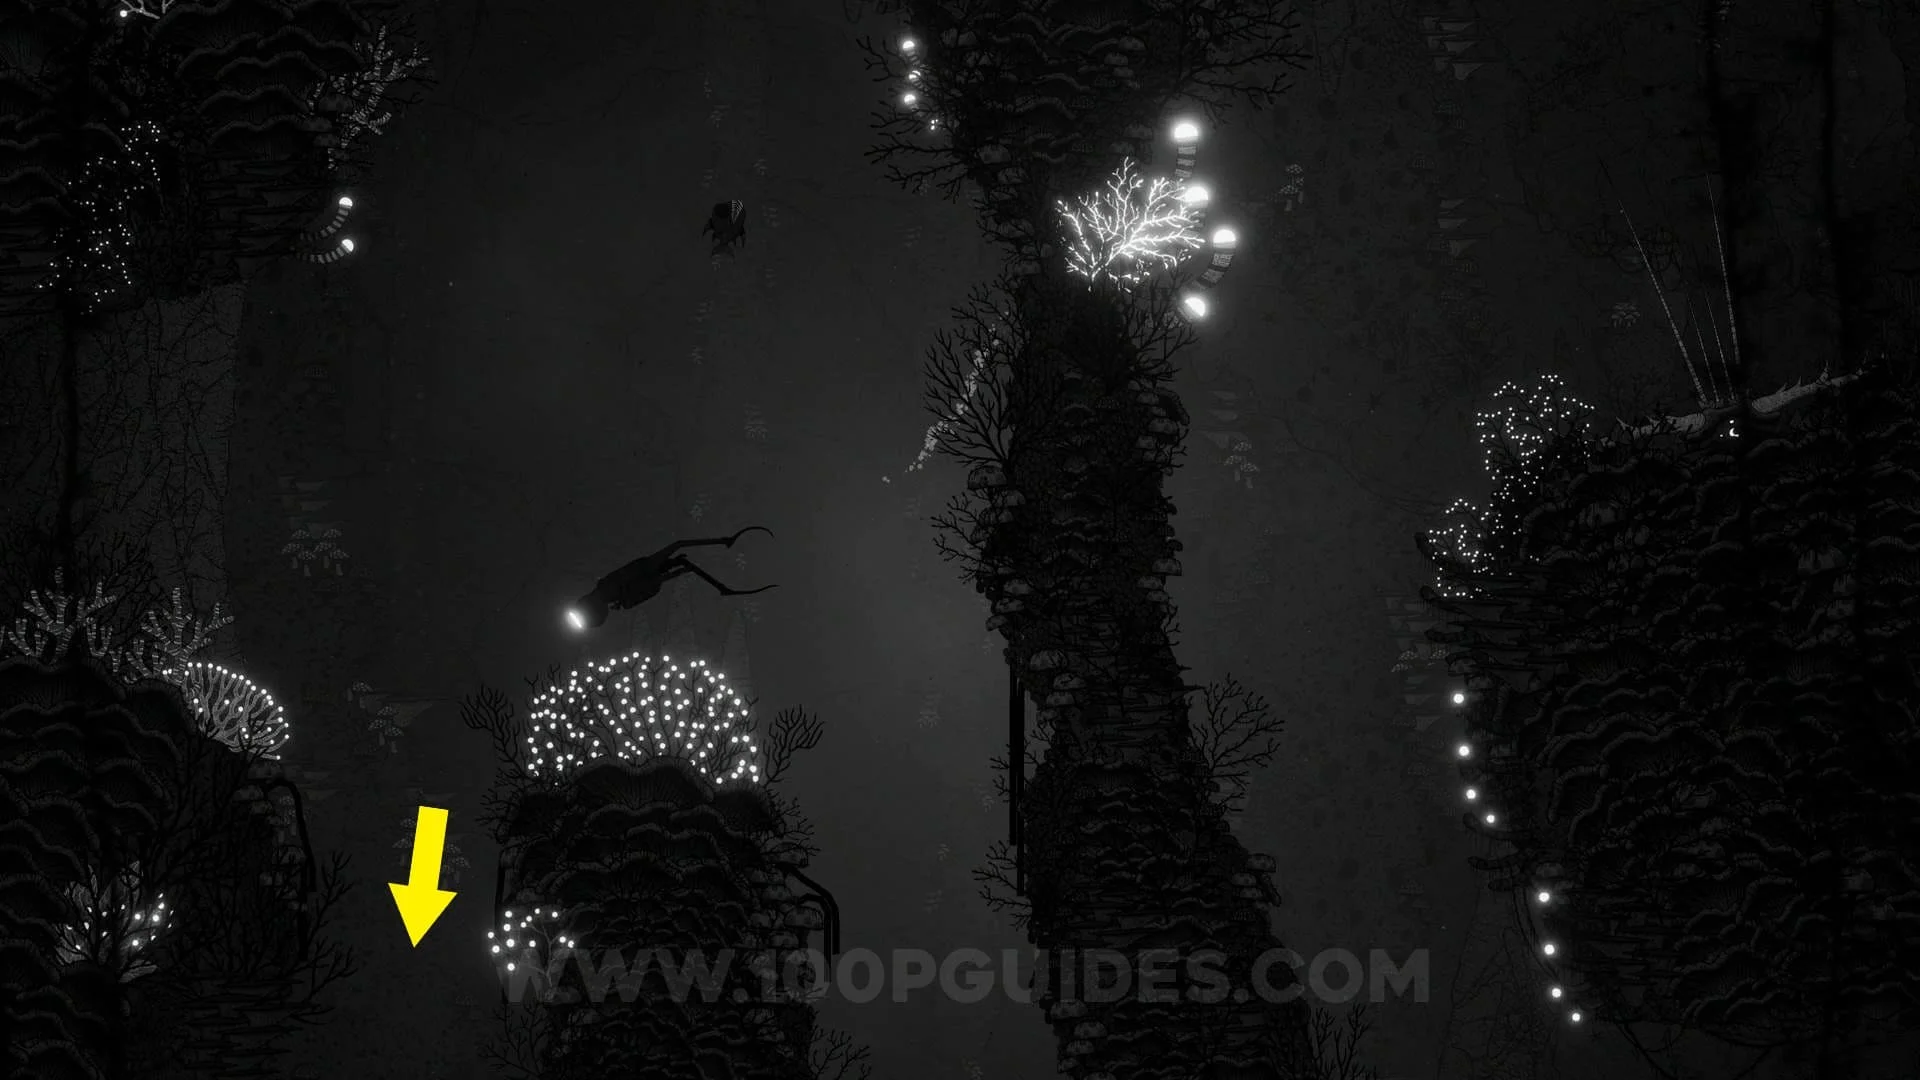
Next we will want to leave the tree area through the exit found to the bottom-right. Here swim up at the statue to enter the area with the next worm. First we will want to swim through the small path to the left with the spikes to find the 2nd collectible in the game next to 3 carnivorous plants. Next, swim out to the area on the right by going up or return through the path you used to get here.
Once you are to the right of the worm trapped in the plant. Possess the group of small fish and swim up the same path you used to get the collectible. To the left of the collectible you will be able to infect the group of fish and kill all 3 plants. This will release the 3rd worm needed for the birds on the tree.

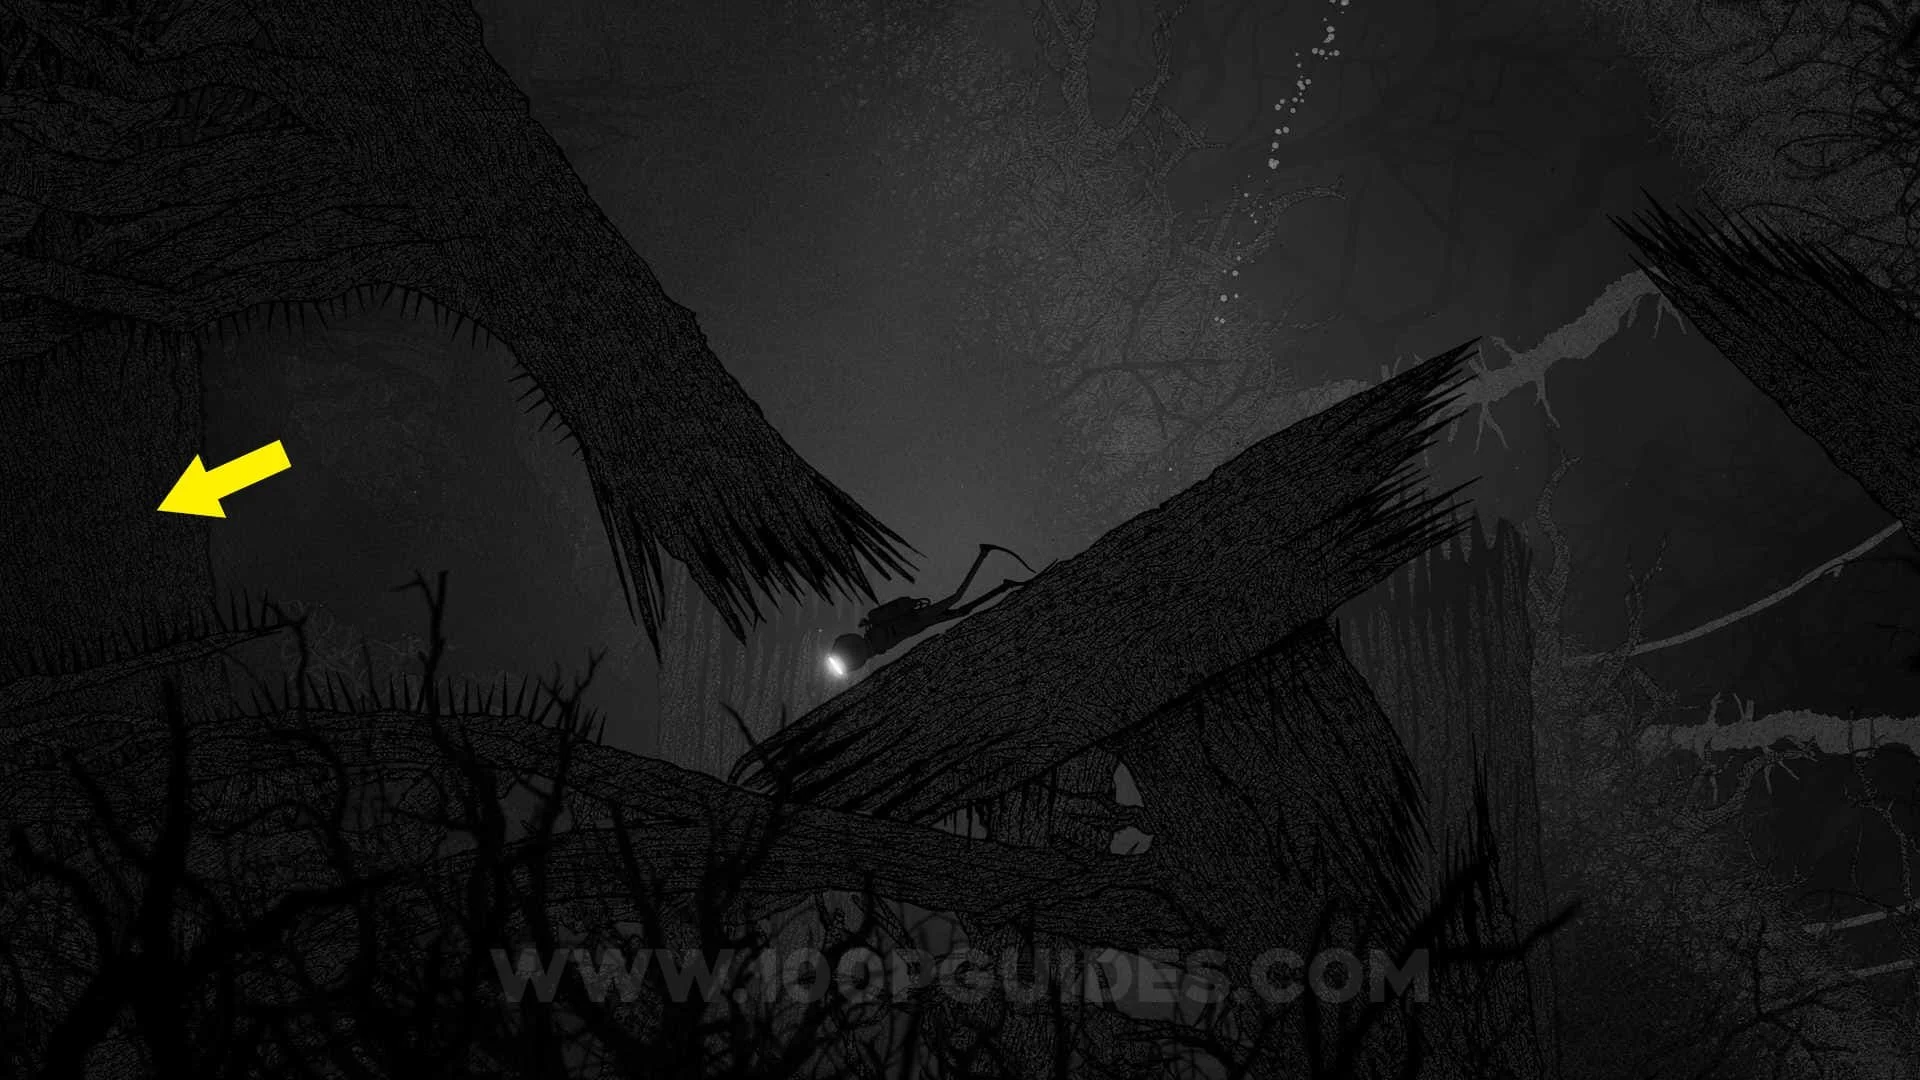


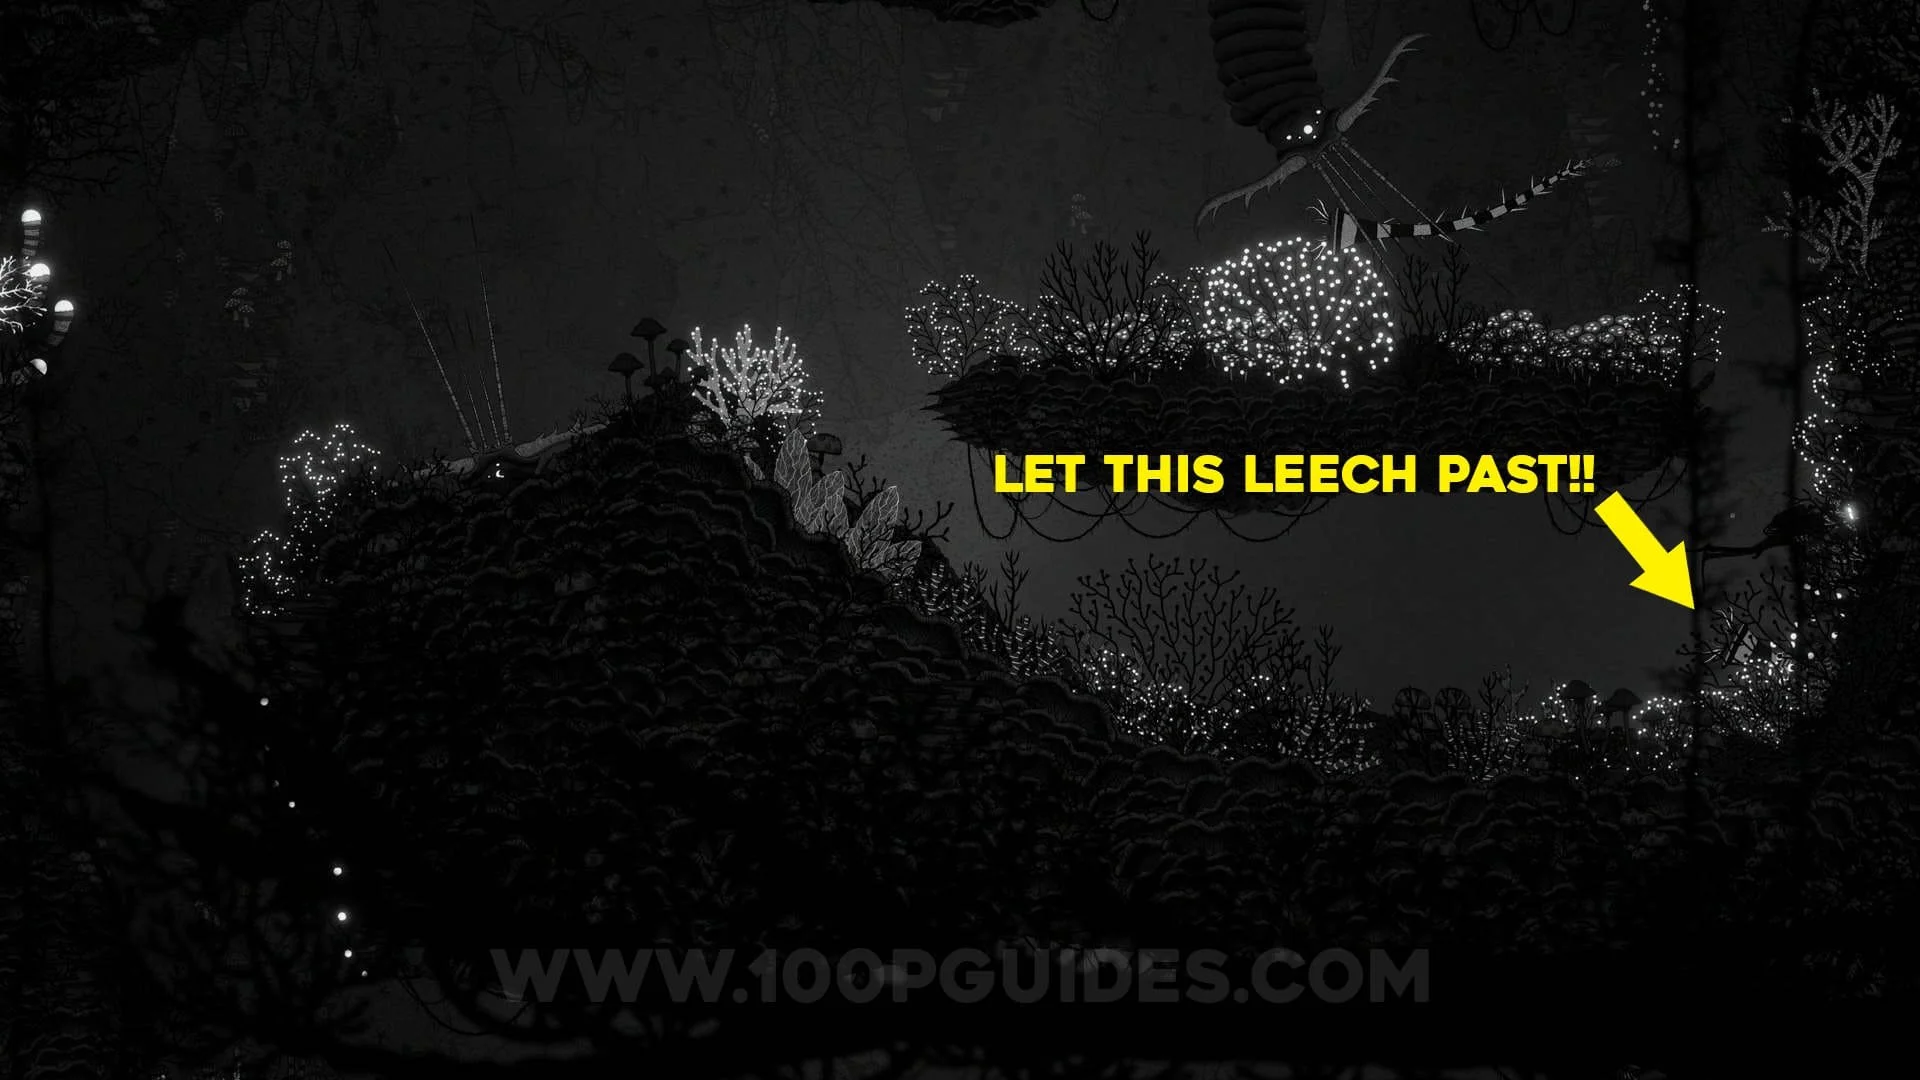
The final worm can be found by leaving the tree area through the bottom exit (to the right of the tree). Here you will want to use your flashlight to repel the leeches as you take the bottom path where you can find the final worm for the birds. If you get attacked by the leeches on your way out, just spin around a little with the worm on your head to get rid of them, since the worm counts as a light source.


Once you have fed the final worm to the birds on the tree, the second goliath battle will start.

Chapter 2 - Boss Fight
Defeating the second goliath "Kraken Tree" can be done really quick and easy if you know what to do.
First, place you character in one of the bottom corners to keep him/her safe from the kraken's suction attack. Then you will want to possess one (or multiple of the little fish).


Now swim around as the fish getting all the other fish to join the group until you have all the fish in the area with you. Once you have control of all the fish, swim down to the area below the goliath and swim in to the black clouds until you have a black trail behind you.


Finally, swim in to the krakens mouth once he uses the suction attack!

Once the goliath is defeated you will be in the massive open area again. This time swim down to enter the machine and interact with the next rune to finish the chapter!

Chapter 3
From the start, head down to get to the first area. Here possess a manta and use it's ability to dash through the column to the right. Once on the other side you will have to possess an electric eel and use it's ability on the generator. Now you will be able to "possess" the switch to allow the character to get through.


Now you will be able to activate the switch to the right of the generator to move on to the next area. Here possess the eel and use it's ability on the light above to activate another switch to move on to the right. Here you will once again have to possess an eel to power the cable above you, allowing you to move on.

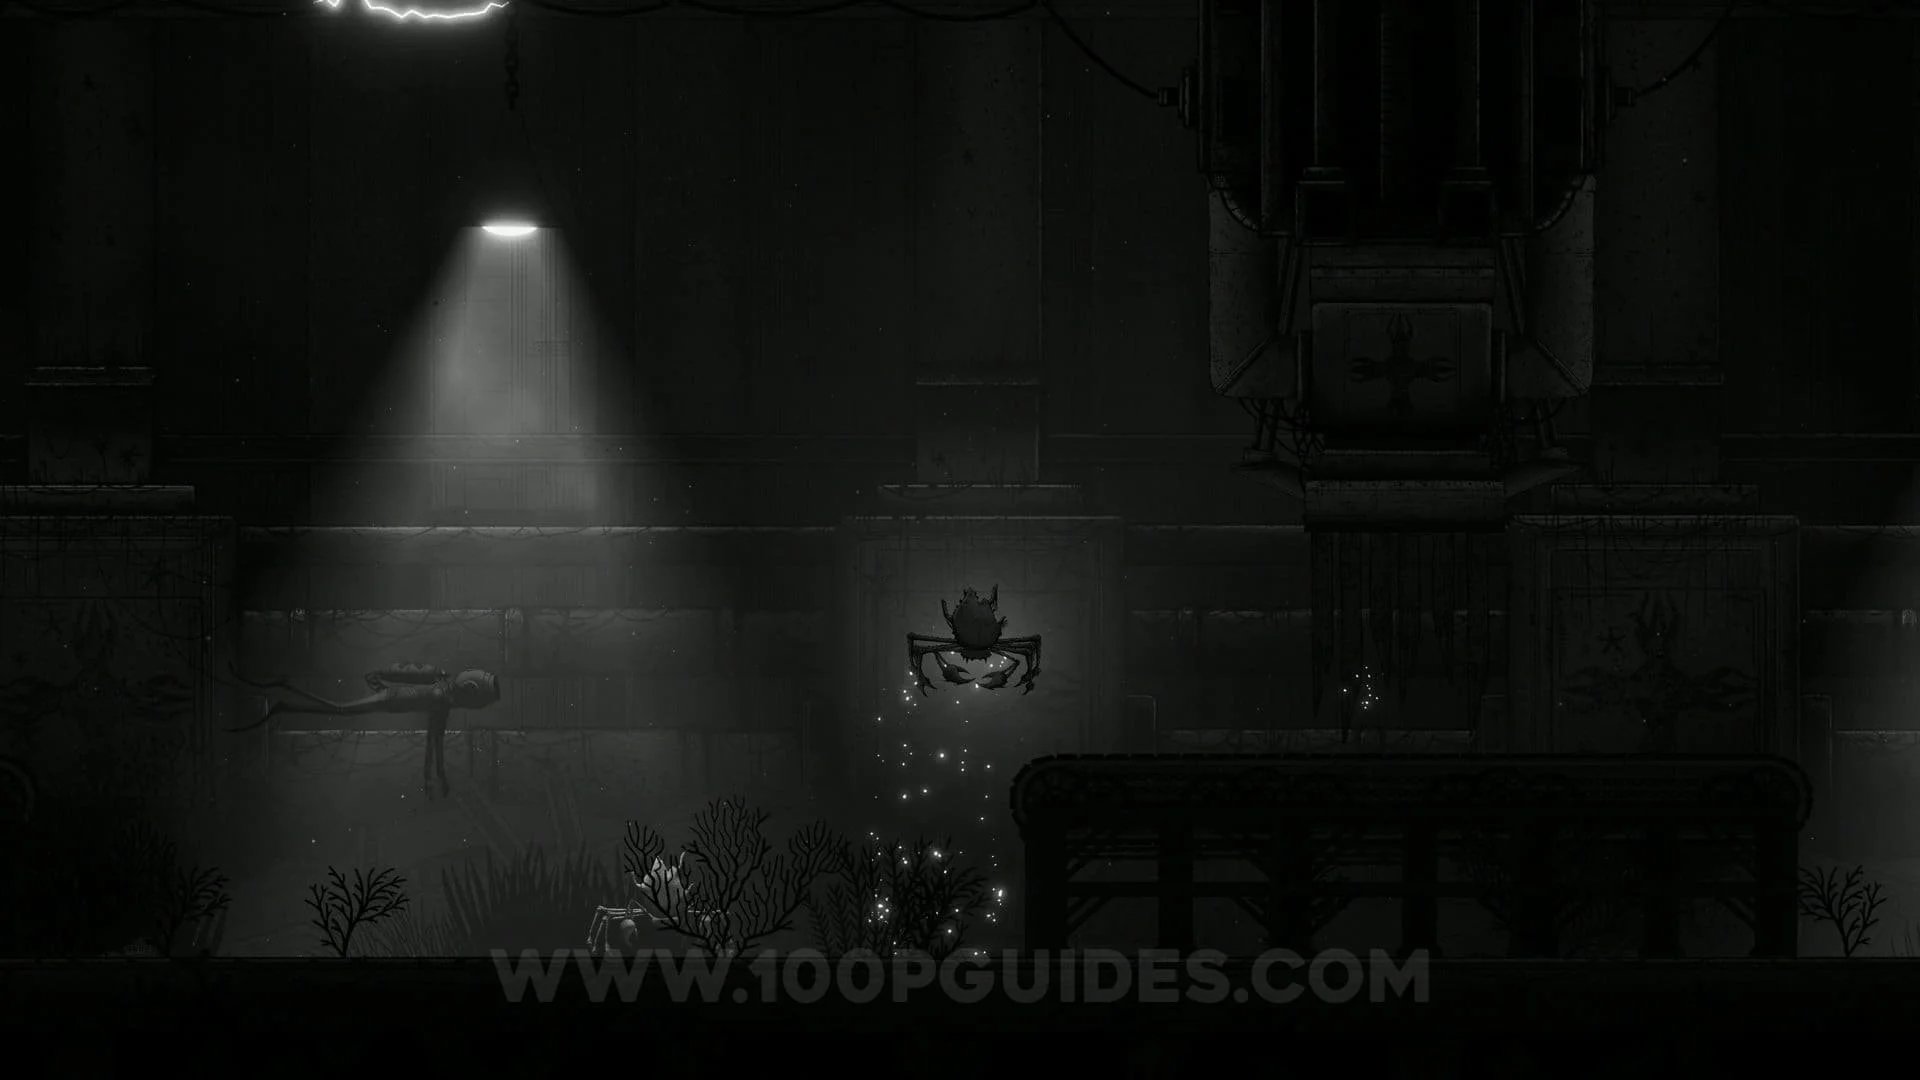
In the next area you will have to possess one of the crabs. Use the crab's ability to jump up to the conveyor belt and destroy the spikes by just walking under them, allowing your character through.
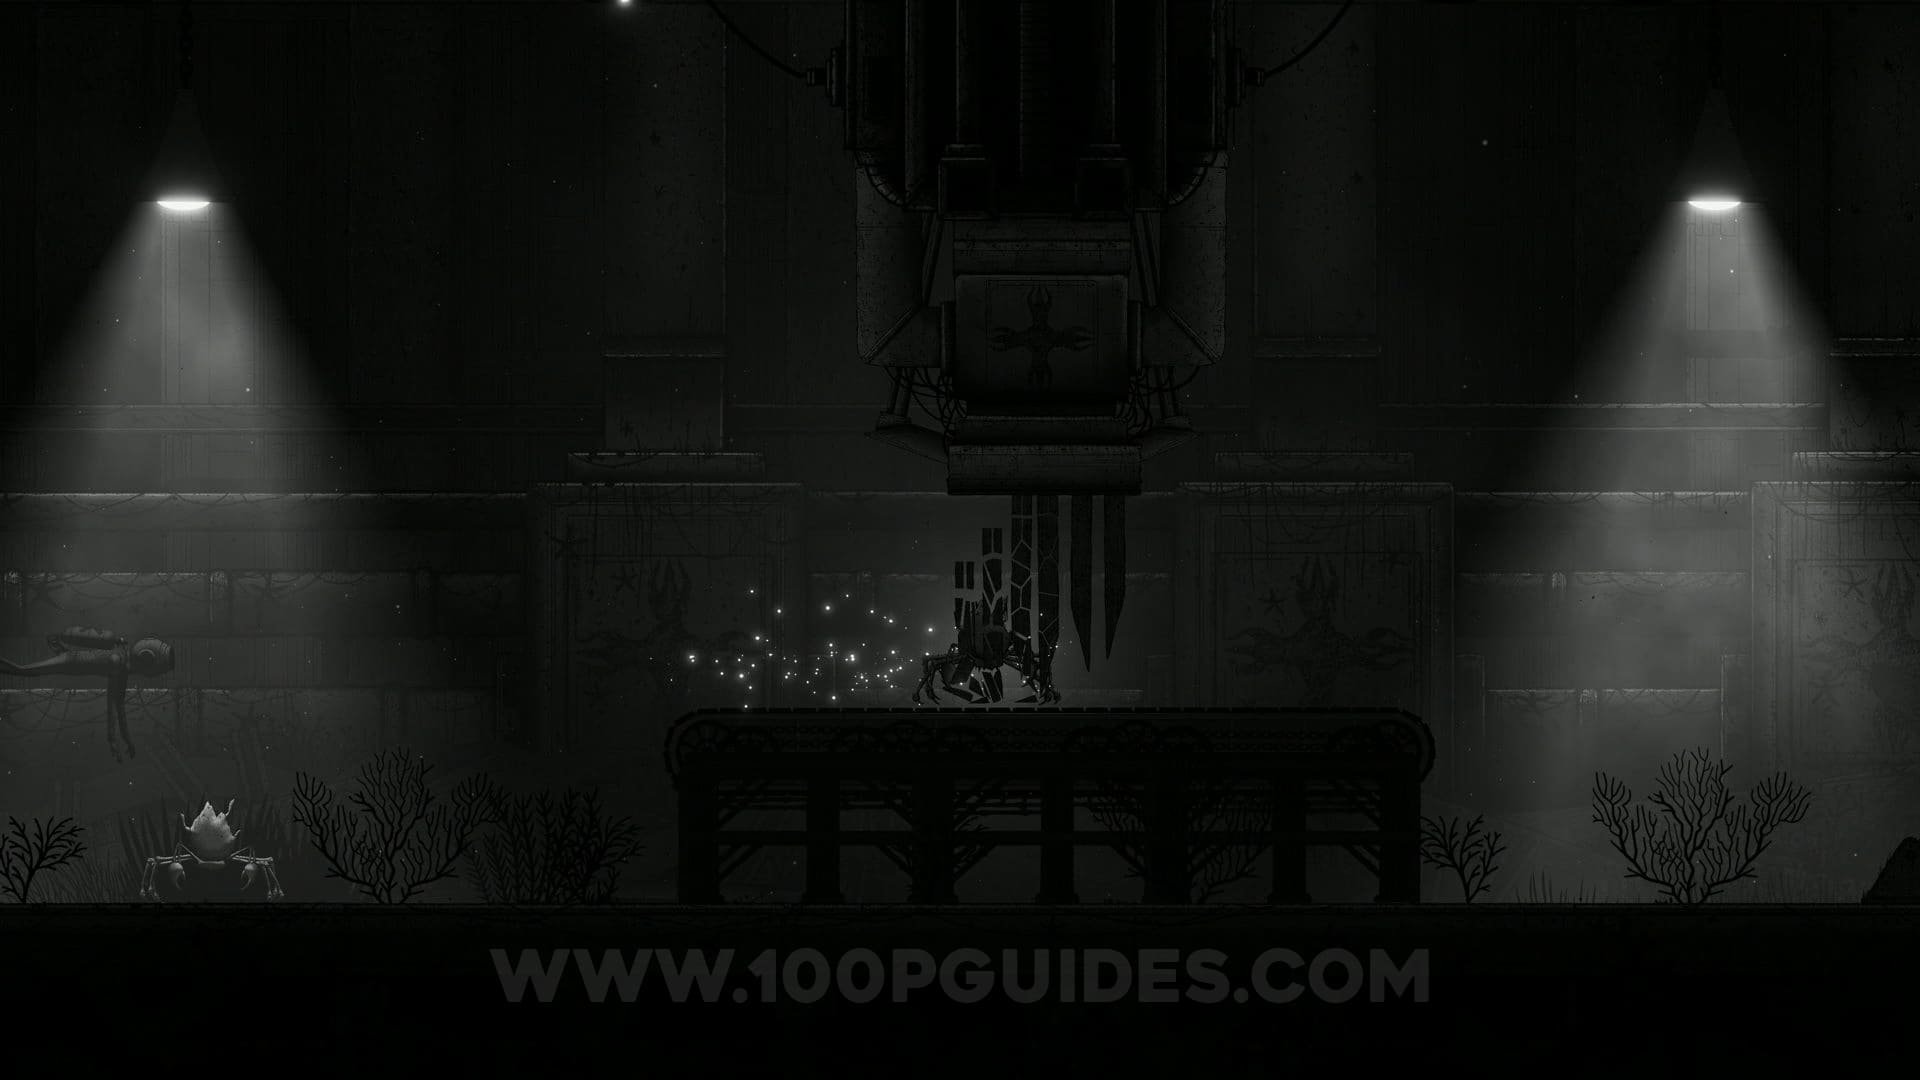
Once you have made it to the next area, first head up to the top and possess one of the crabs on the right. Place this crab on top of the elevator. Now possess another crab and use it to destroy the spikes on the conveyor belt and get to the elevator. Here possess the manta and dash through the column to the right. Then dash through the spikes and other machines. Now head up and dash through the fans where you should then be able to press a switch.


Now use your character (or any fish) to press the switch at the bottom of the elevator to bring it up. Then control the crab that you placed on the elevator to break the fans to the right (the same fans you dashed through as the manta). Your character will then be able to swim through them and get to the next area.


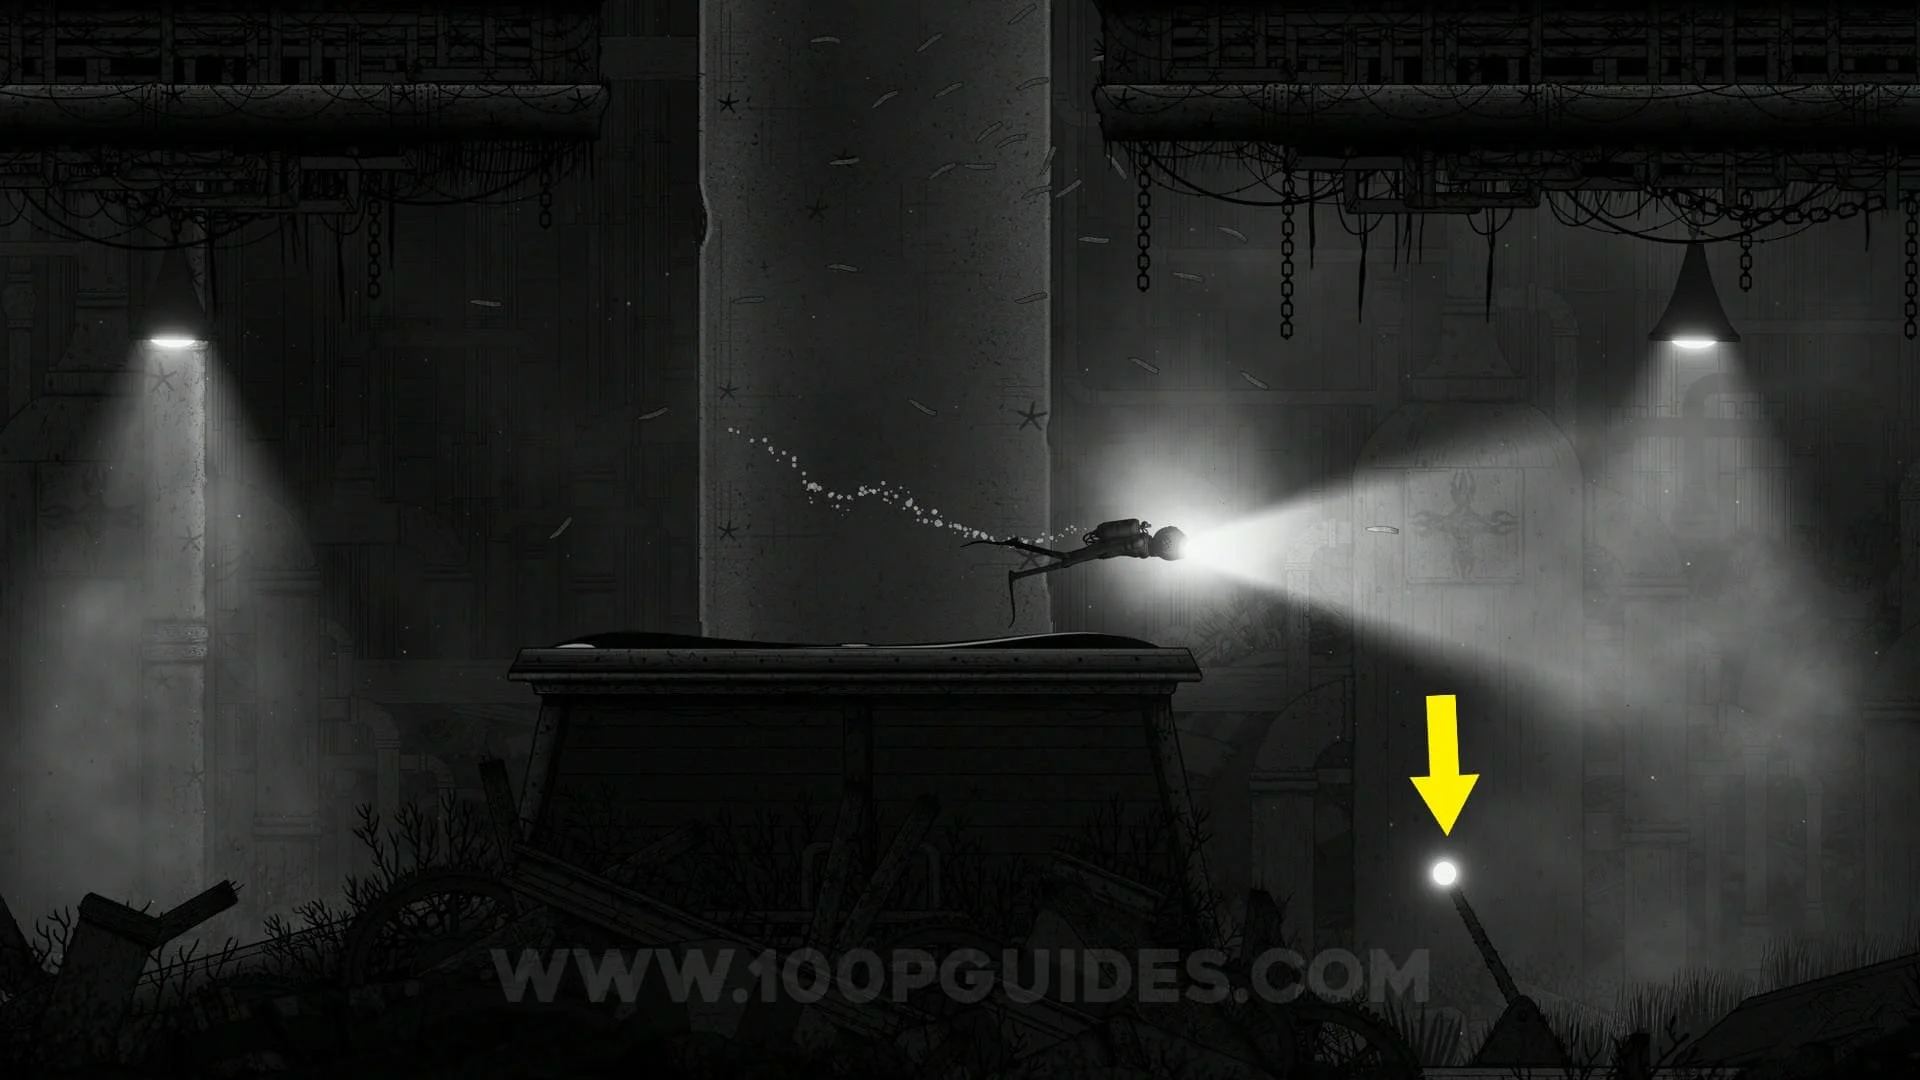
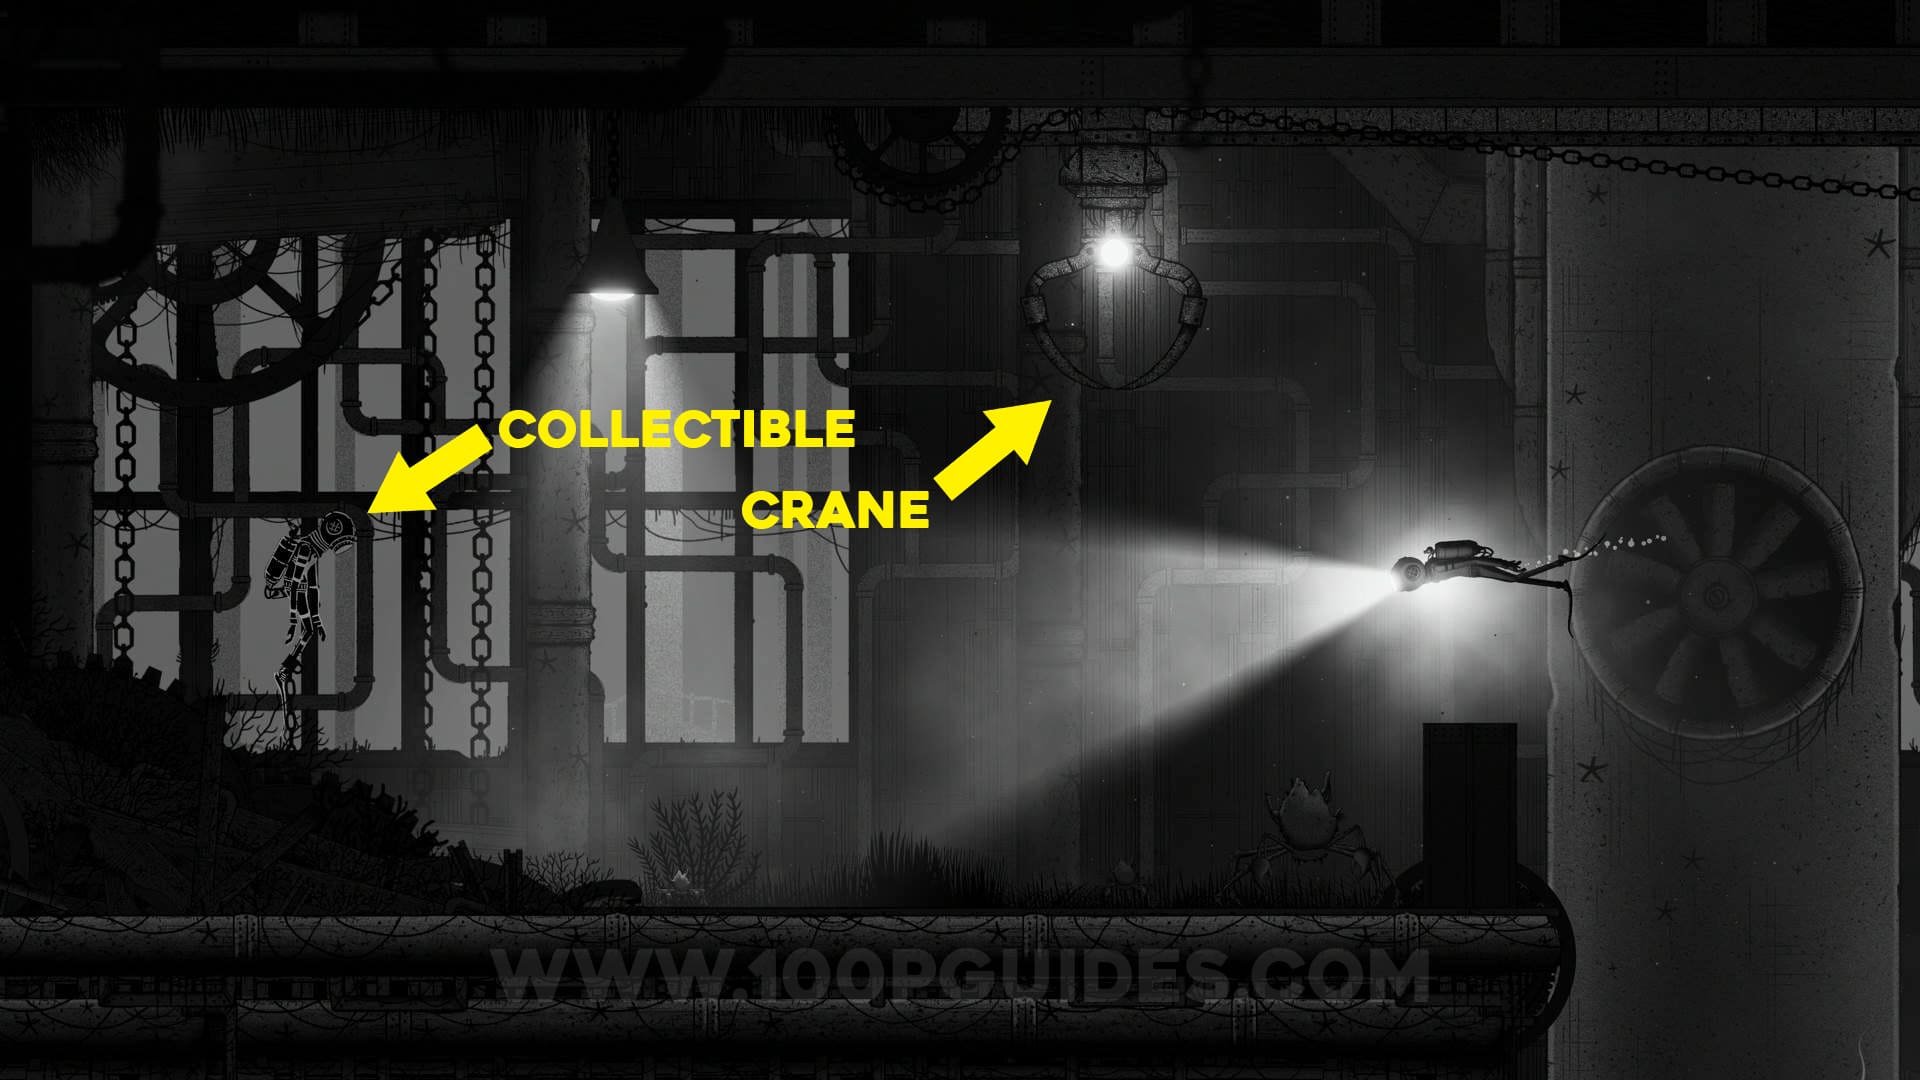
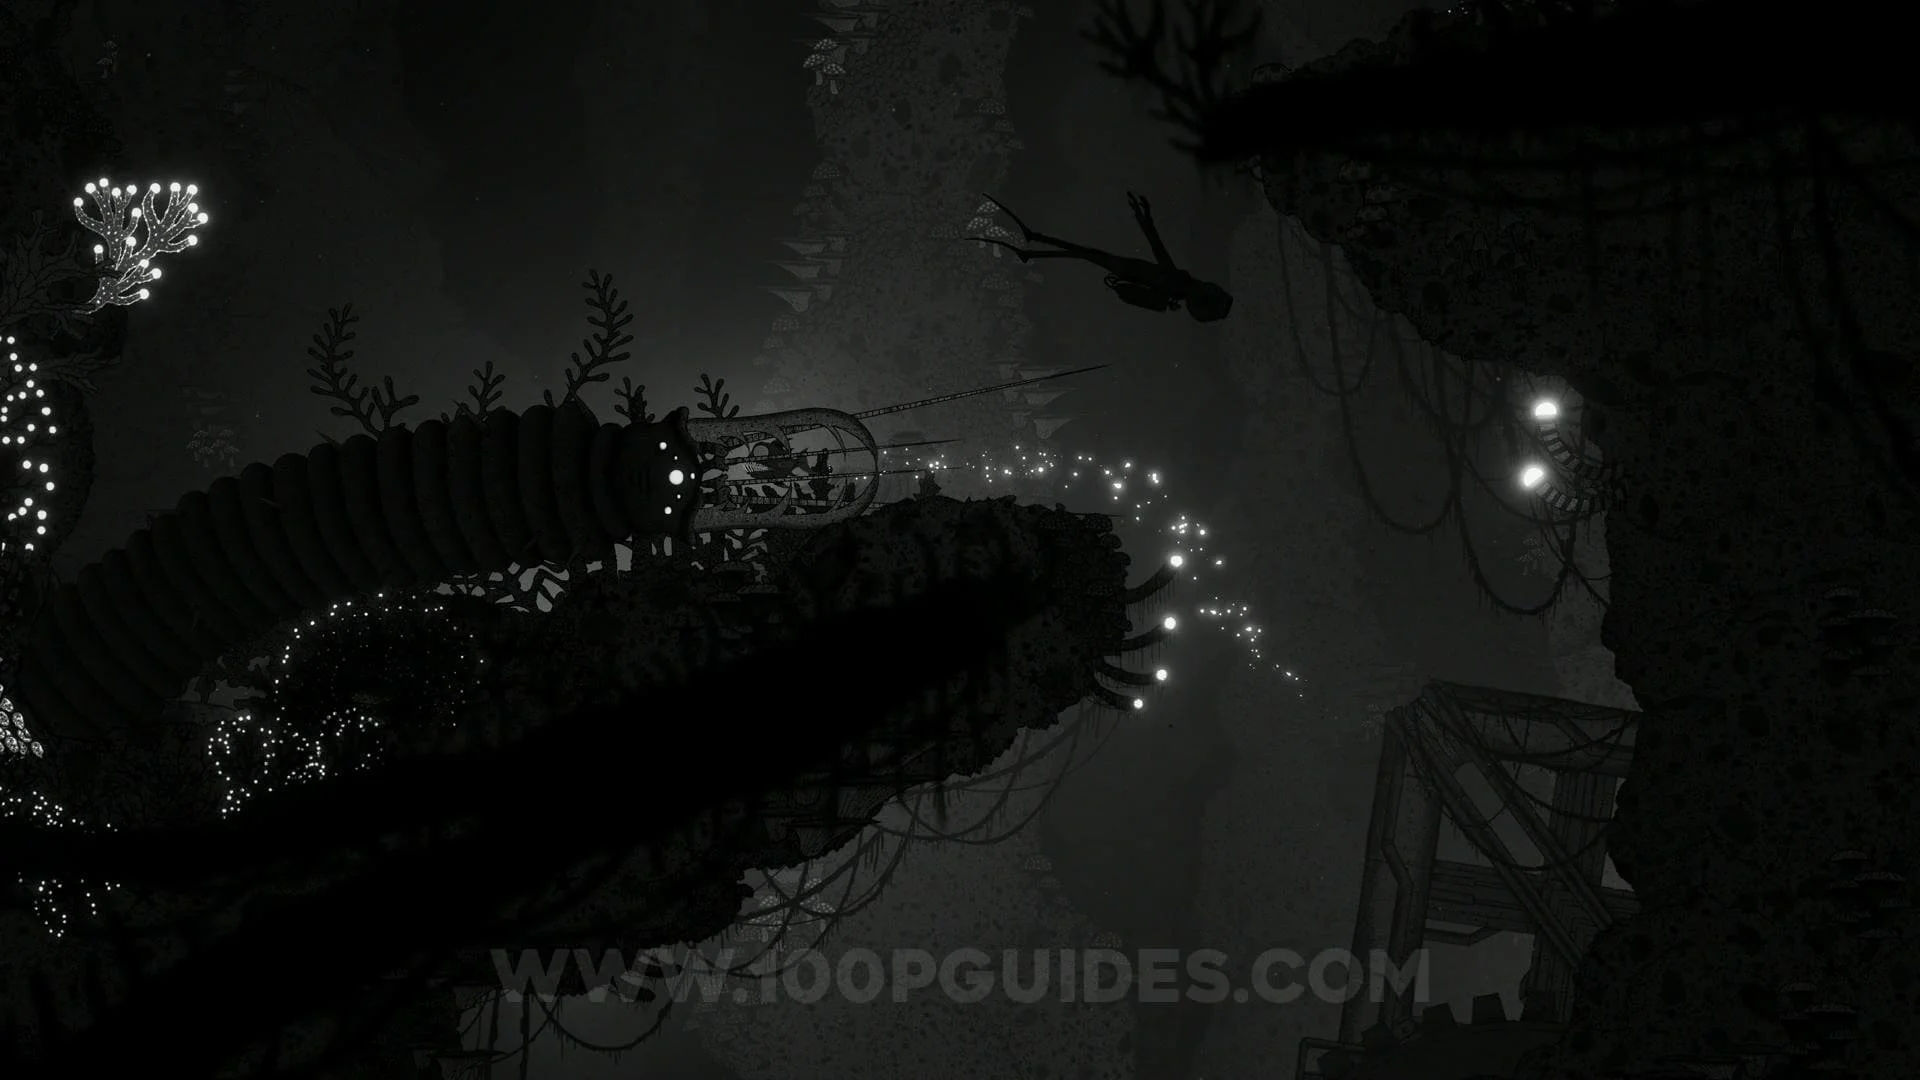
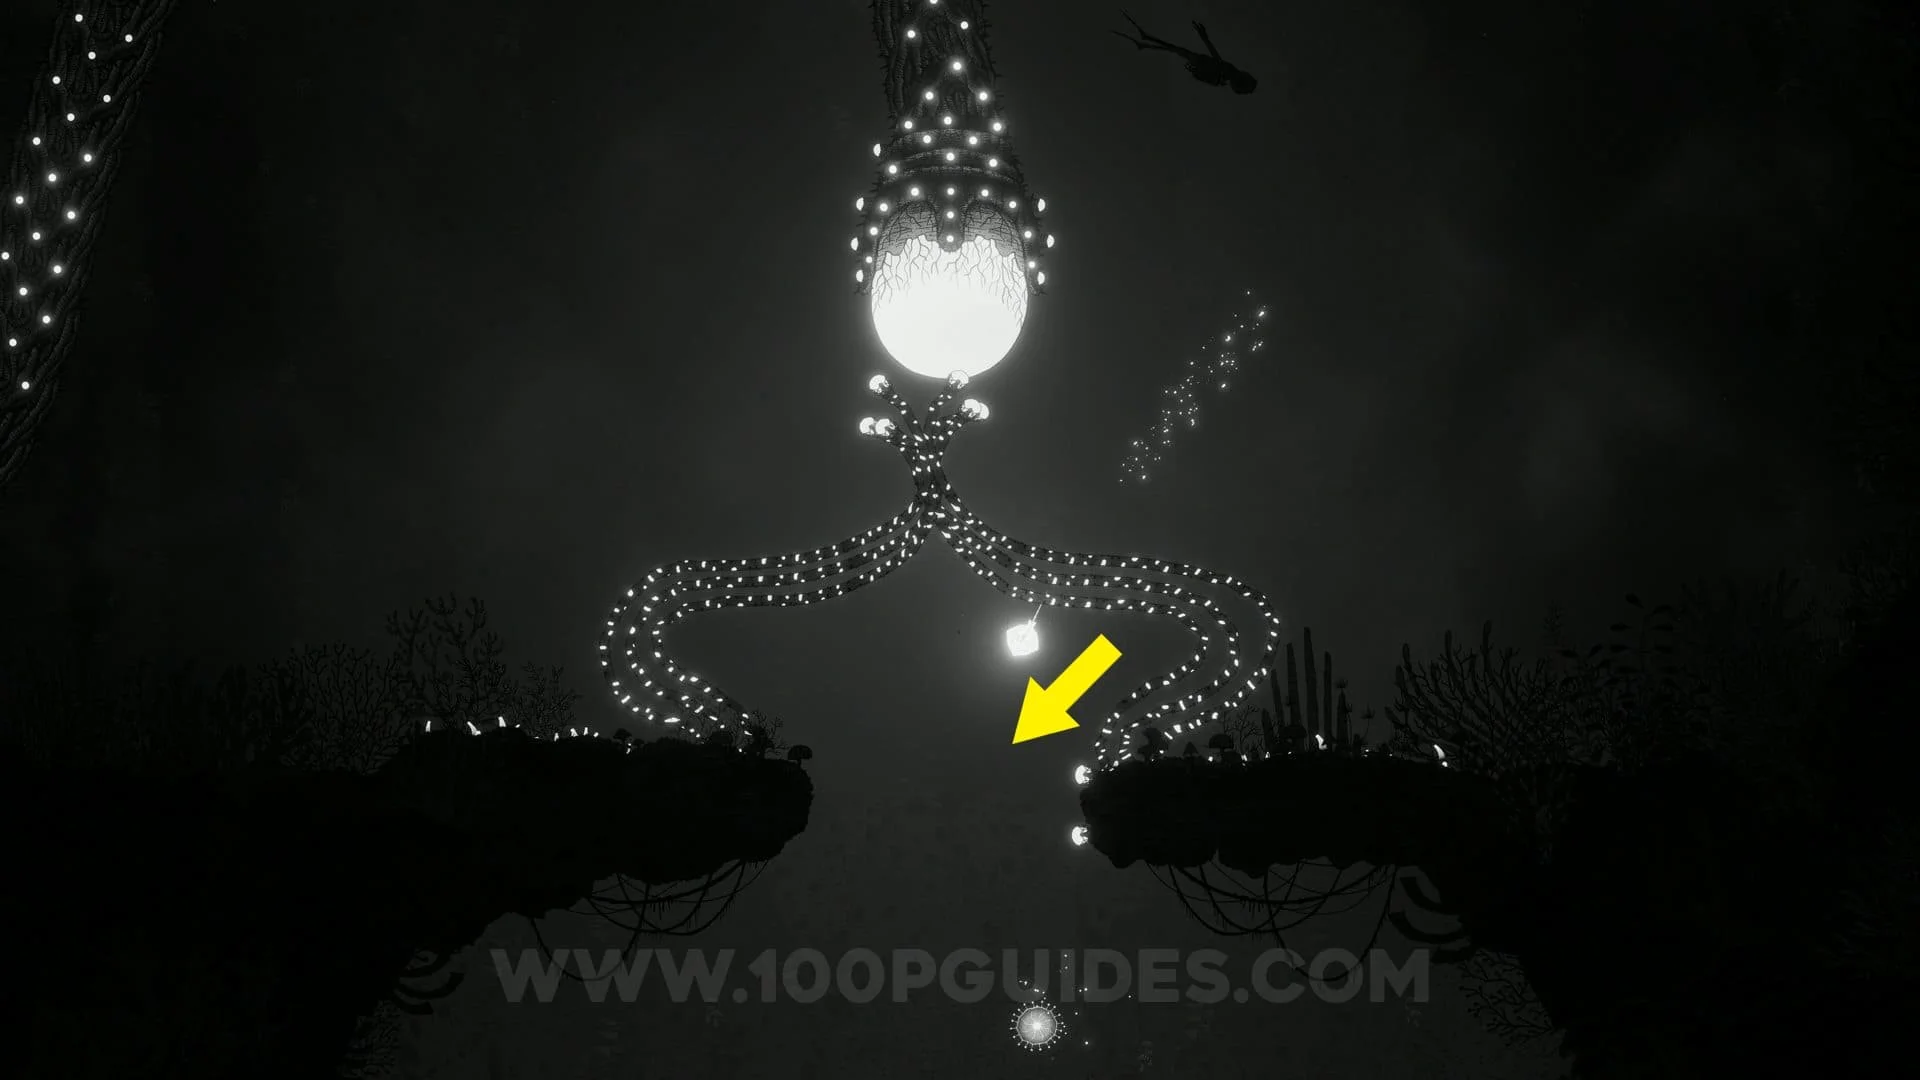
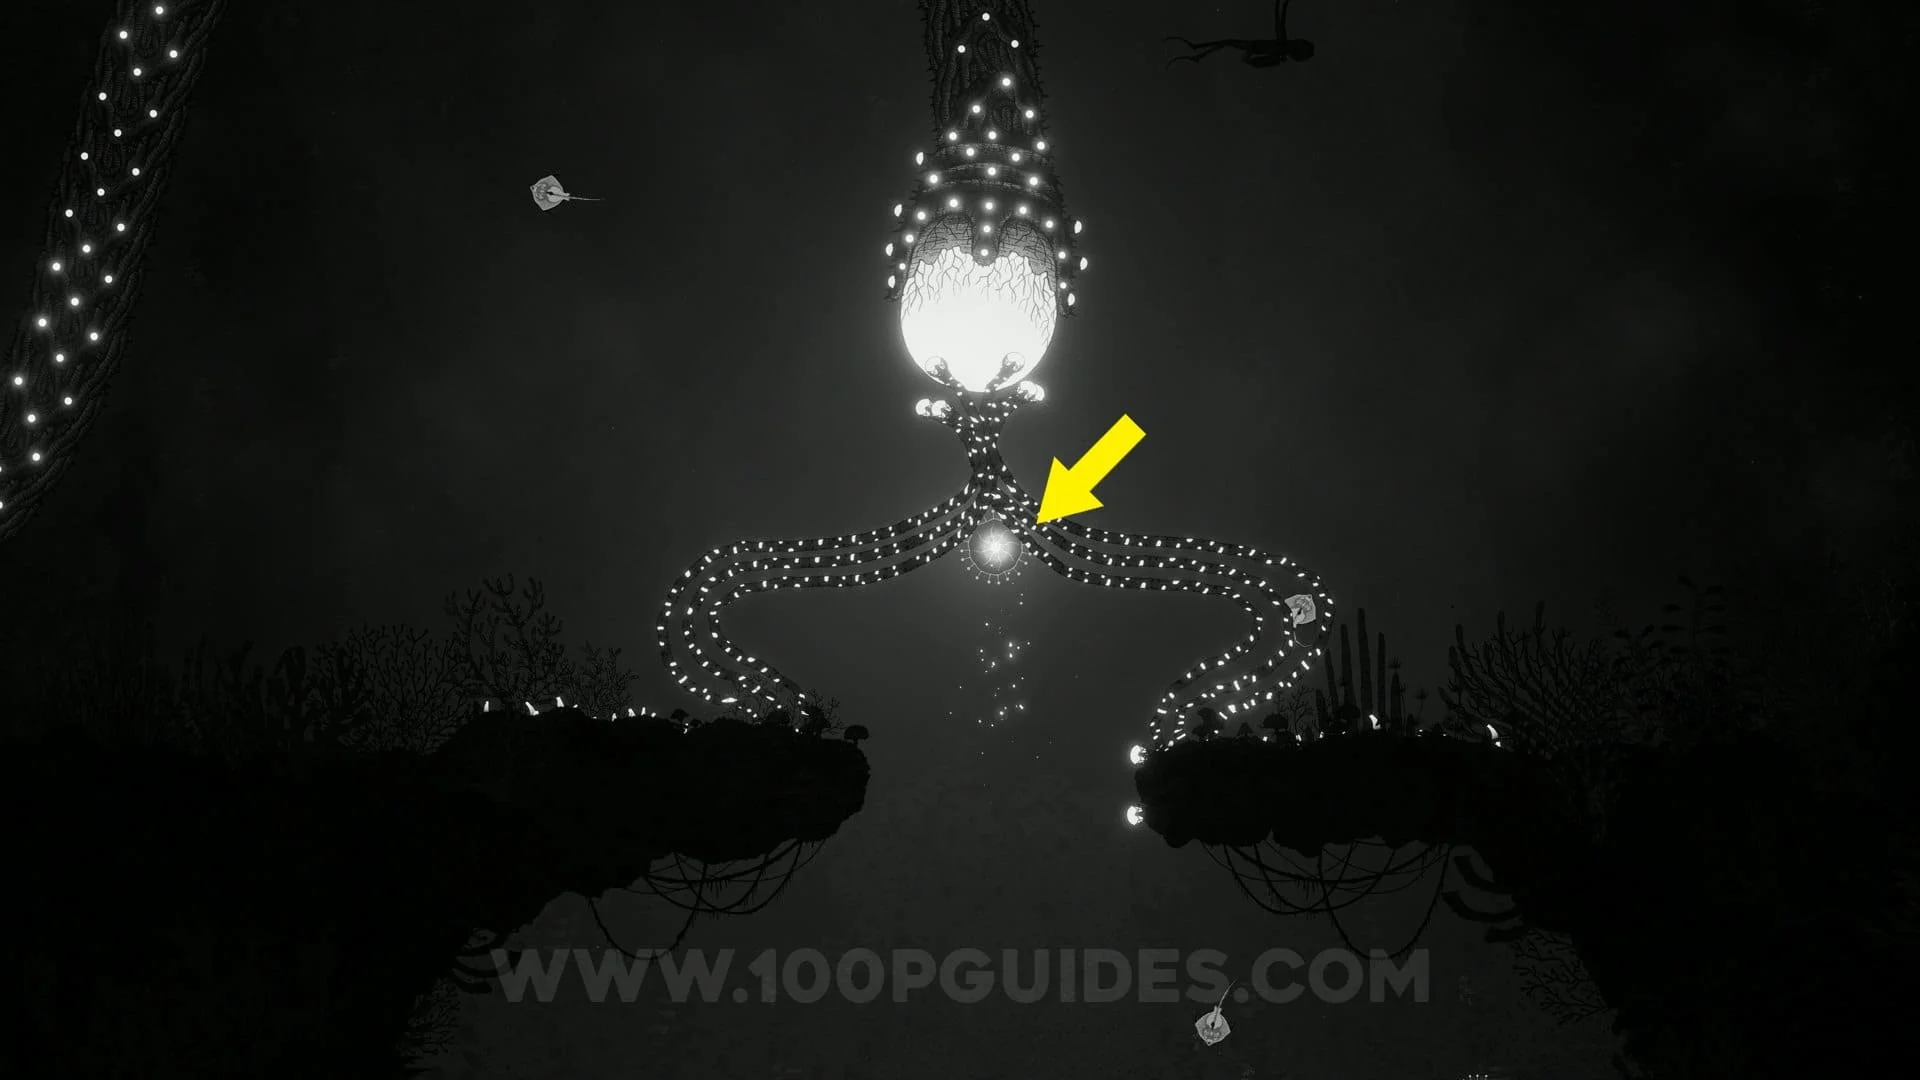
In the next area you will want to swim over to the switch on the right (remember to shine your light at the leeches to repel them) to activate the fan and open up the door above it. Now use the elevator to get to the top floor. Go all the way to the left to find the 3rd diver (collectible).
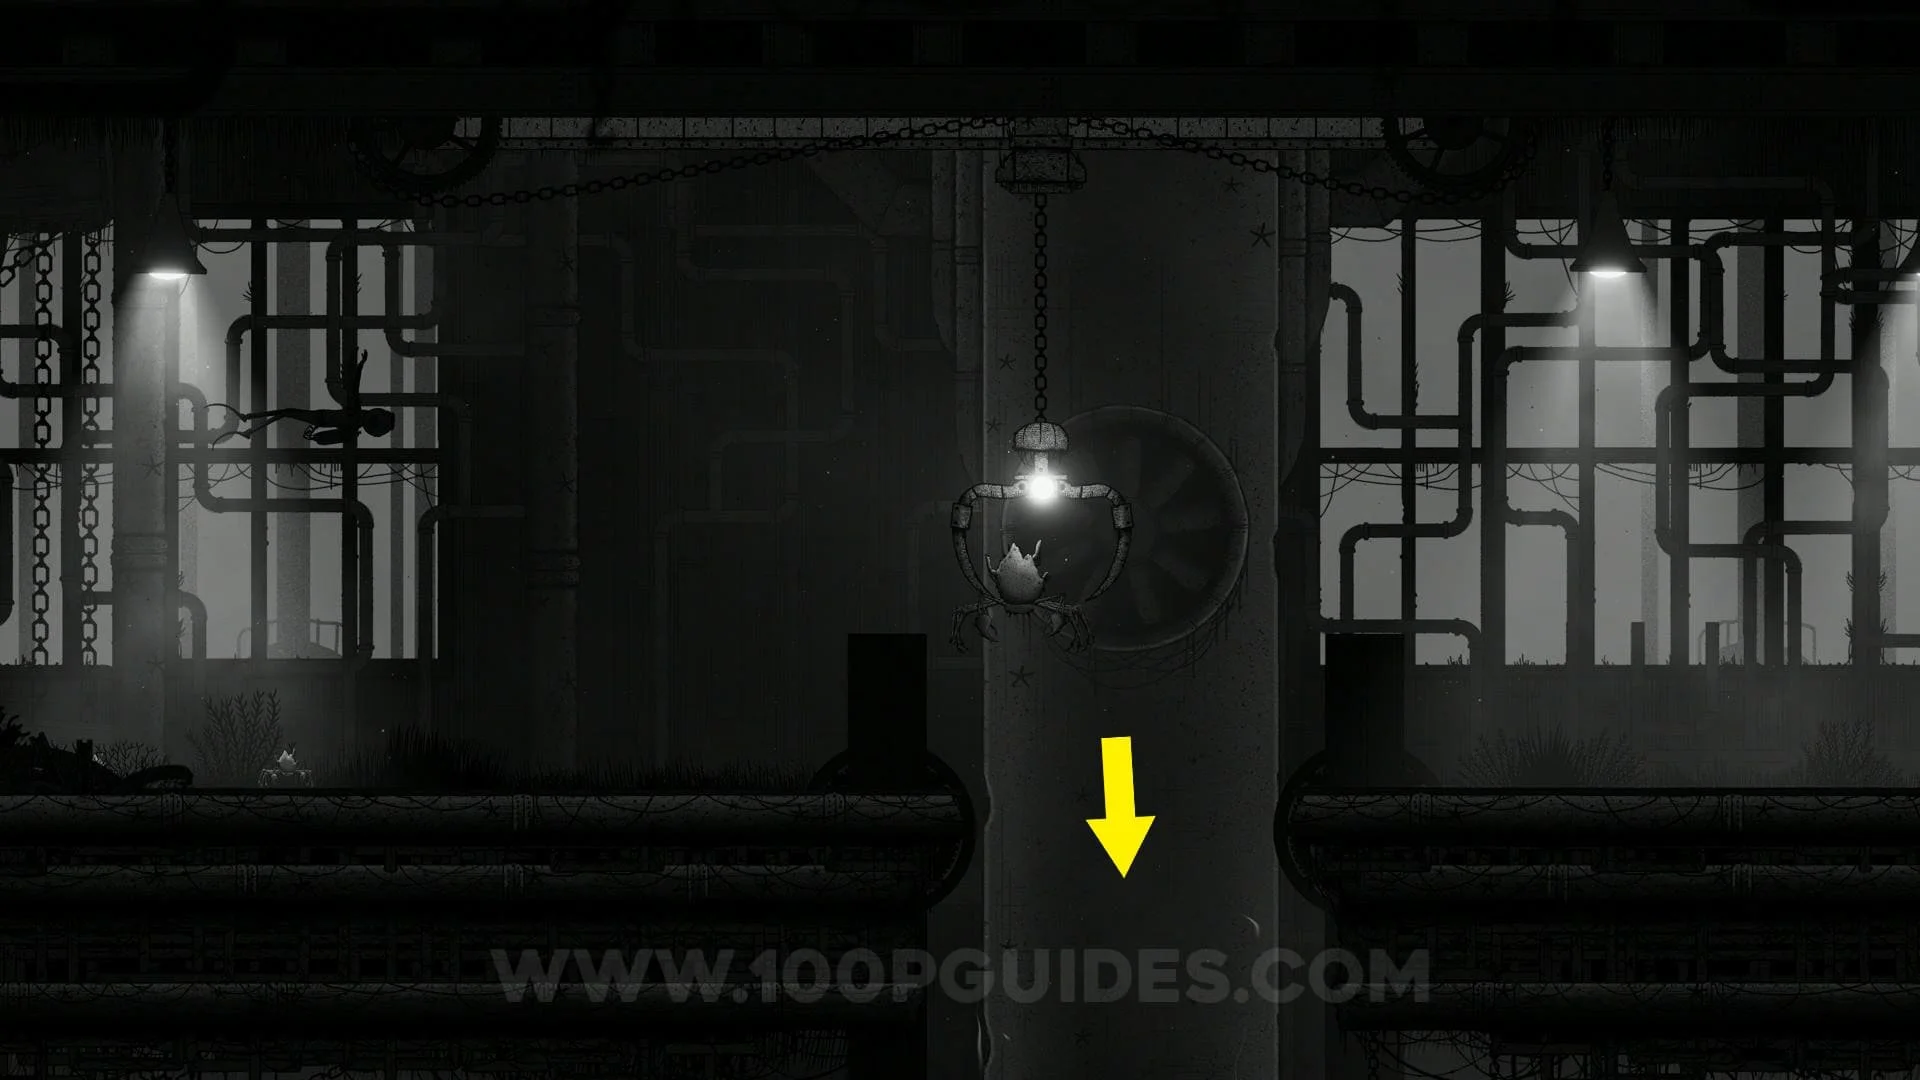
Just to the right of the collectible you will be able to possess a crane that can be found above you. Use the crane to pick up the crab and then drop it down the hole and in to the fan to break it. This will allow you character to swim through it and gain access to the boss arena.


Chapter 3 - Boss Fight
The first thing you will want to do once you get to the boss arena is possess a manta ray. You can then dash through the cables found at the bottom on both sides of the goliath. Here posses a piranha to bite through the cables on both sides of the boss.


Now place your character close to one of the two generators found either side of the boss down passed the broken cables. Then possess any of the fish in the area (except the eel) and swim to the generator on the other side while leaving you character next to the first generator.


Next possess the eel and activate the generator on the opppsite side from your character by using it's ability.
Then quickly cancel all possessions to control your character again. Now possess the eel that should be close to your character and activate the generator before the boss turns off the other.


Now, still in control of the eel, head to the boss and electrify the goliath's leg joints until it falls through the fan.

Finally, follow the boss down through the fan to finish it off.
After absorbing the boss you will once again be in a massive open area. This time swim to the left, enter the machine and activate the rune to move on to chapter 4.

Chapter 4
From the start of chapter 4, take the left path. Here take control of the piranha and get the buried worm on the left to eat you. This will give your character just enough time to get to the top area with the mantas.


Now take control of a manta and use it's ability to get past the worm. Then take the path all the way to the bottom. Here you will have to go right and dodge another 3 buried worms. Once at the end, take control of an explosive jellyfish type creature and get one of the three worms at the bottom to eat you. You will now have to repeat this process 2 more times until you kill all 3 of the worms at the bottom.


Once all 3 of the worms are dead, take control of 1 last manta to distract the big worm right below your character. Then swim to the bottom and past where you killed the 3 worms to exit this area on the right. You will now be back at the starting area, however you can now take control of a piranha to cut the ropes on the right side where you can go to continue the level.

In the new area, you will have to hold the "swim faster" button at all times. First head up and then take the bottom path, allowing the leech to distract the worm. Now continue down at full speed. Once you get to the bottom corner, bait the leech out of the ground and stay behind it so it can distract the next worm.
Soon after you will come to an area with some mantas. Take control of one and continue through the tunel while dodging all the worms. After you dash through some ropes, head down to your left by dashing through some more ropes. Here take control of the piranhaand cut both sets of ropes. Now return to controlling you character and move through the tunel just like you did with the manta. Just make sure you take the top path when the paths split, allowing the leeches to go first and distract the worms up ahead. Head down the path to the left (where the piranha is) to continue.


In the next area, you will first have to possess an explosive jellyfish to destroy the rocks below. Then keep swimming down as you control jellyfish to get rid of the big white worms (I recommend staying to one side to make things easier). Just keep going down until you move on to the final boss arena!

Chapter 4 - Boss Fight
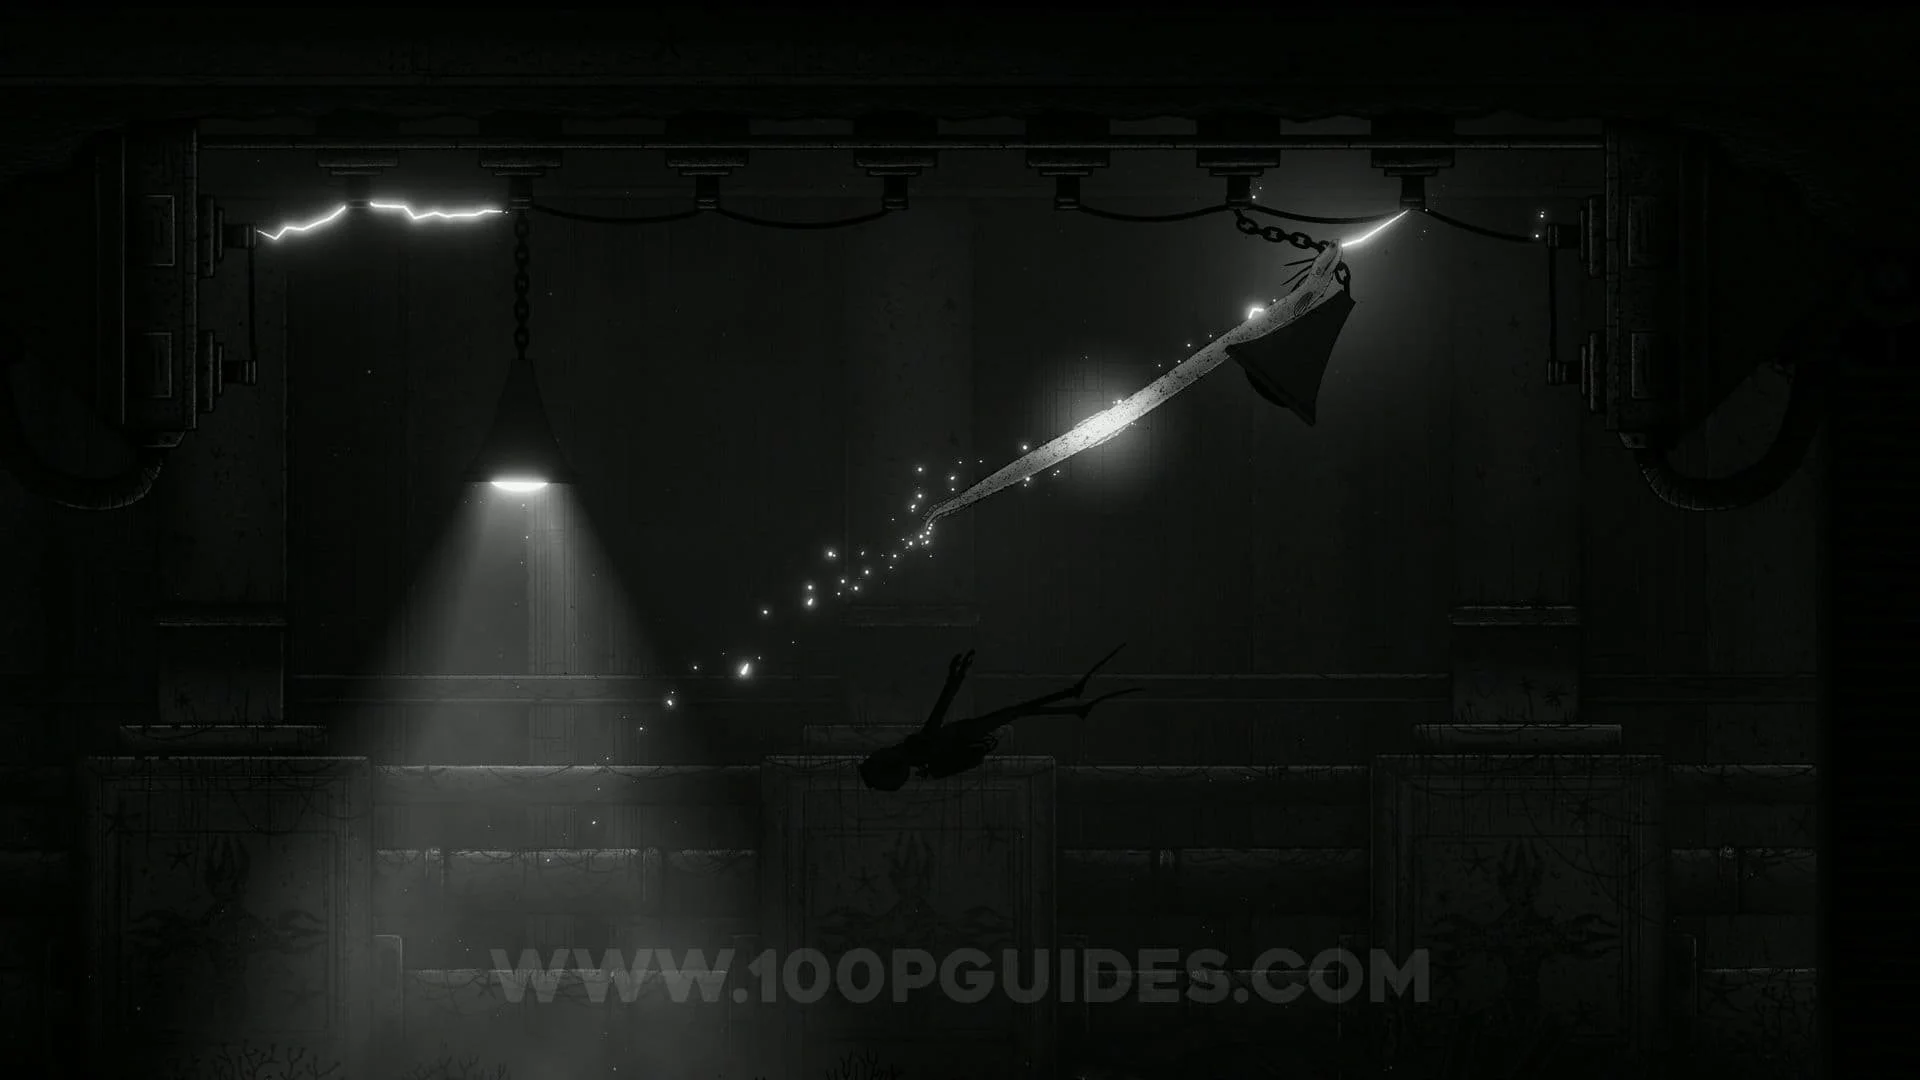
During the first part of the "boss fight" you wil have to damage the 2 tentacles (1 either side of the goliath). For the one on the right you will have to possess the tentacle and lower it as much as possible as well as turn it's light off.
Now possess a manta ray and dash through the plant structure right below the bulb. Then possess an explosive fish and detonate it once it's up against the plant as high and close to the tentacle as possible (To get the collectible you will have to move the tentacle close to the plant and open the top part, then move your character in to the middle, then toggle the tentacles light, allowing your character to get to the collectible).


For the left tentacle you will have to possess it and shine the light at one of mushrooms. Then use your character's flashlight and shine it at the other mushroom for the worm to bite the tentacle.


Now return to the center where the goliath is found to start the 2nd part of the fight.
You will now want to wait in front of the pincers until they shoot you with explosives that you will want to possess as they come towards you. Once you have control of one, detonate it close to the main white circle on the goliath's head.
Repeat this 3 times to defeat the goliath and get the "Abbys" trophy.


After absorbing the final goliath you will be in the massive open area one final time. This time you will have to swim up to enter the machine. Once inside activate the final rune and finish the game!


Video Guide
If you found this guide helpful and would like to support our work, you can do so by pressing the Ko-fi button below