The Quarry All Collectible Locations (All Tarot Cards, Clue & Evidence)
In this guide we will show you where to find all collectibles in The Quarry. This includes all Tarot Cards, Evidence & Clues. Getting them all will unlock the Decked Out, Conspiracy Theorist & Meddling Kids! trophies /achievements.
🎮 Find more The Quarry guides here!
Prologue
Tarot Card #1 (The Fool): At the very start of the game while controlling Laura after the accident, she will decide to go and check out the woods. Go down the left path to find the card.


Clue #1 (Harum Scarum Poster): On a tree at the start where you control Laura after deciding to check out the woods. Found right after the first tarot card.


Clue #2 (Escapology Trunk): Soon after the first clue you will come to a fork in the road. Take the left path to find the clue.


Clue #3 (Broken Cage): Take the right path at the fork just after the previous collectible.


Clue #4 (Bloodied Collar): Story related, you will get this automatically when exploring the basement under the camp.
Video Guide
Chapter 1
Clue #5 (Hunting Notice): Found at the start of the chapter in the car park, in front of the blue car while controlling Jacob.


Clue #6 (Camp Plaque): While controlling Jacob, to the left of the main door.
Tarot Card #2 (Temperance): While controlling Jacob. Enter the main building through the window at the end to the left of the main door. Then enter the kitchen that can be found to the right in the main dinning room.


Clue #7 (Newspaper Headline Scrap): When you first see Abigail & Emma, choose to break in to the hut to get the bags. Inside you will find the clue on the ground inbetween the 2 bests on the left.


Clue #8 (Camp Song Recording): In the area with the cabins and the big tree. Next to the stairs of cabin 08.


Evidence #1 (Empty Vial): Next to the big tree in the middle of the cabins, close to the swings.


Clue #9 (Information Signpost): In the same area as the previous collectibles. Look for a signpost you can interact with.


Video Guide
Chapter 2
Clue #10 (Damaged Memorabilia): In the general store as soon as you take control of Emma. On the floor next to the first set of shelves from where Jacob is standing.

Clue #11 (Lodge Renovation Plans): In the same room as the previous collectible. Next to a big wooden table.


Evidence #2 (Torn Bags): In the locked room (story related), to the right of the refrigerator.


Clue #12 (Family Photo): On the desk in the first room where you control Dylan.
Clue #13 (Counselor's Ledger): Obtained during the cutscene in the office where you found the previous collectible.
Clue #14 (Trail Camera): The first time you control Nick, pick the "Shady Glade" path. After you fall down the slope, stick to the path on the right to find the camera on the tree at the end.


Clue #15 (Ranger Box): Soon after the previous collectible you will see a cutscene where Abi gets scared of a bird. As soon as the cutscene ends, head to your left to find a the box.


Tarot Card #3 (The Hanged Man): When you start controlling Nick. Pick the "Rocky Road" path. Then take the left path to find the card.


Video Guide
Chapter 3
Tarot Card #4 (The Tower): In the middle of the forest area right at the start of the chapter when controlling Abigail.


Tarot Card #5 (The Star): As soon as you take control of Jacob. Walk straight forwards until the camera changes to get the card.
Clue #16 (No Swimming Sign): Take a left as soon as you control Jacob to find the clue.


Clue #17 (North Kill Gazette): On a table opposite the previous collectible. Just turn around and you will see it.
Clue #18 (Old Camp Photo): To the left of the previous collectibles. At the end where the tables and chairs are.


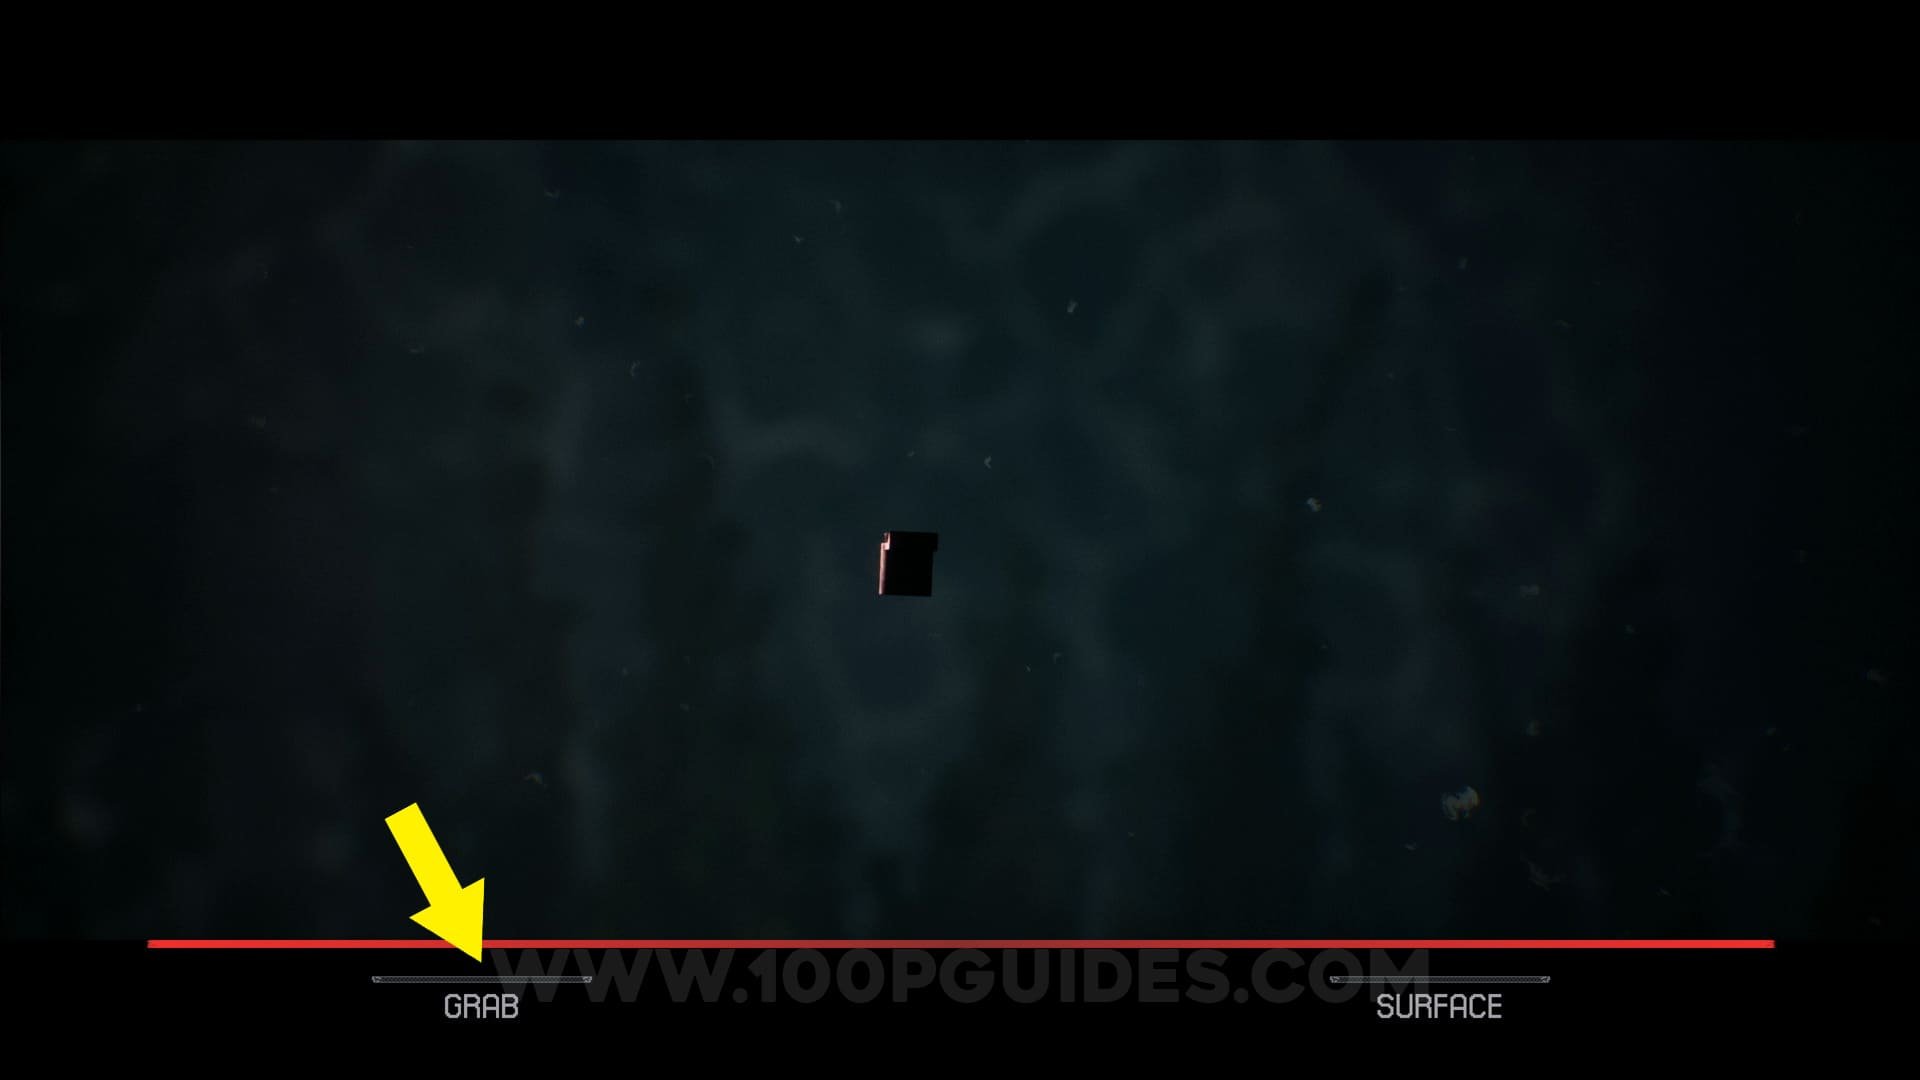
Evidence #3 (Bloated Corpse): To get this collectible you must have picked the "STEAL ROTOR ARM" from the car in chapter 1.
Then once you hear Abi scream in chapter 3, you will have to pick the "DIVE IN" option, then the "GRAB" option and finally
do the QTE to get the collectible.


Video Guide
Chapter 4
Tarot Card #6 (The Magician): As soon as you start controlling Emma, turn around and go to the end of the pier to find the card.


Clue #19 (Box Of Matches): With Emma, take the bottom path (DO NOT GO UP THE STAIRS), then once you see a ladder, take a left to find the clue.
🚨 DO NOT GO UP THE STAIRS AFTER GETTING THE COLLECTIBLE❗


Clue #20 (Police Car Keys): Return to the area where you started with Emma. This time, go up the stairs on the left until you get to a hut. Examine the window to find the clue.
🚨IF YOU INTERACT WITH THE DOOR YOU WILL MISS THIS COLLECTIBLE. ❗


Evidence #4 (Attack Photo): Once you enter the tree house. 👀 MAKE SURE YOU PICK "SEARCH BAG" then "USE TASER", this will allow you to then take the photo that will be evidence.


Tarot Card #7 (Strength): After finishing the section with Emma, during the first cutscene when the group is taking Nick inside just spam the X/A button since the card will appear during a few seconds in the cutscene.

Video Guide
Chapter 5
Clue #21 (Triggered Bear Trap): When controlling Dylan you will get to an area with the cabins. Here you will find a bear trap to the left of the cabins.


Tarot Card #8 (The Devil): In the same area as the previous collectible. Walk inbetween the swing and the tree for the camera to change, allowing you to pick up the card.

Clue #22 (Letter To Camp Nurse): In the same area as the previous collectibles. On the ground next to cabin 03.
Evidence #5 (Claw Marks): In the same area as the previous collectibles. Just outside the building with the radio tower. DO NOT ENTER THE BUILDING UNTIL YOU HAVE ALL COLLECTIBLES.


Tarot Card #9 (The Hermit): To the left of the previous collectible. Go inbetween the hut and the radio tower to get the card.


Video Guide
Chapter 6
Evidence #6 (Memory Card): From the start, go uo the wooden stairs. Now continue on the wooden walkway until you come to a fork in the path. Here take the right path to find the camera on the ground.


Tarot Card #10 (Justice): As soon as you get off the wooden walkway, take a left to see the card.


Clue #23 (Campers Photo): Once you control Abigail in the poolhouse, the collectible can be found in the corner of the room behind Kaitlyn.
Tarot Card #11 (The Moon): In the same area as the previous collectible. Inside the 3rd changing room.


Clue #24 (Spooky Drawing): In the same area as the previous collectibles. In the locker at the end of the hall where the changing rooms are.


Clue #25 (Kid's Letter Home): Next to the yellow tent as soon as you start controlling Emma.


Video Guide
Chapter 7
Clue #26 (Scrawled Limerick): On the wall in your cell as you start controlling Laura.

Tarot Card #12 (The World): In the same cell as the previous collectible. Just walk towards the bed and then turn back to the door to see the card.

Tarot Card #13 (The Chariot): After leaving your cell as Laura, in the next room with 4 tables. Walk inbetween the tables to get the card.


Evidence #7 (Cease & Desist Letter): In the same room as the previous Tarot Card, up the small set of stairs in the corner of the room.


Clue #27 (Charred Sheriff's Badge): In the same area as the previous collectibles. Head upstairs and enter the second door on your left. The clue will be on a box to your right.


Clue #28 (Bizarre Yet Bonafide Podcast): In the same area as the previous collectibles. First head upstairs and enter the first door or your left. Here examine the red card on the wall. Now exit this room and head in to the last door upstairs. Here examine the calendar on the wall. Now go downstairs and enter the door next to where you found evidence #6. Here access the computer with the info you got upstairs to get the clue.


Video Guide
Chapter 8
Clue #29 (Old Quarry Tools): Found behind you as soon as you start controlling Laura in the cave.

Clue #30 (Miner's Lunchbox): As soon as you start controlling Laura, go around the pond of water to find the clue.

Tarot Card #14 (The Lovers): After the cutscene where Laura pushes Ryan, in the next area stick to the left close to the railing to get the card.

Evidence #8 (Scarred Flesh): Can be found on the ground just before crossing a metal bridge, soon after a QTE.


Tarot card #15 (Wheel Of Fortune): During an unmissable camera change as you go through a tunnel.


Tarot Card #16 (The Empress): Once you take control of Ryan after the scene with Dylan and the rest of the group, enter the room to your left to find the tarot card.


Clue #31 (Rum Still): Found in the same room as the previous collectible.
Tarot Card #17 (The Emperor): Return to the hall with all the barrels where you started controlling Ryan. Here head straight until the camera changes, allowing you to get the card.


Video Guide
Chapter 9
Evidence #9 (Kaylee's Letter): As soon as you start controlling Ryan, you can find the collectible to your right on a cupboard.


Tarot Card #18 (Death): In the same room as the previous collectible. From the mirror close to the first collectible, walk towards the bed for the camera to change, allowing you to get the card.


Clue #32 (Hunting Trophy Wall): Straight in front of you when you start controlling Laura.
Clue #33 (Hackett Family Tree): Go up the stairs from the previous collectible and enter the office straight in front of you where you can find the clue next to the TV.


Tarot Card #19 (The Sun): During the camera change when you enter the room with the boarded windowns (story related).
Clue #34 (Scrapyard Note): Once you are in control of Dylan / Kaityln in the scrapyard, head to the top floor of the garage to the right.


Tarot Card #20 (Judgement): After you go up some stairs to get on top of some containers, go to your left until the camera changes to find the card.


Clue #35 (Discarded Signage): After getting off the containers by going down some stairs, head left to see the clue on a wooden board.


Tarot Card #21 (The Hierophant): As soon as you take control of Abi / Emma in the basement, go around the corner to the right and head towards the stairs to see the card.


Video Guide
Chapter 10
Clue #36 (Camp Letter): As soon as you start the chapter controlling Kaitlyn, head up the stairs on your right, then take a left and loof for the bedroom through the door to the left of the windowns (just before some more stairs going up). The collectible will be on the floor in the bedroom.


Tarot Card #22 (The High Priestess): Head up the stairs just outside the bedroom where the previous collectibles was, then head left and wait for the camera to change to get the final card in the game.


Clue #37 (Ancestral Portrait): Go back down to the middle floor and find the painting on the column in the middle of the area.
📝 MAKE SURE YOU PICK "KEEP SEARCHING" AFTER LOOKING AT THE PAINTING.
Clue #38 (Ticket Stub): In chapter 5 you MUST WIN THE FIRST QTE & MISS THE 2ND & 3RD! This will make bobby pick up a table that you must then shoot. This will then spawn the collectible in chapter 10 just past the portrait.


Clue #39 (Chalkboard Doodle): Continue past the previous collectible and enter the door at the end, then go past the stairs on the right to enter the classroom. The clue will be on the whiteboard.


Evidence #10 (Trail Cam Footage): Go up the stairs just outside the clasroom, you will find the evidence in a bag close to some boxes to your left.


Clue #40 (Inscribed Jewelry): In the same room as the previous collectible, next to the sofa.
Video Guide
If you found this guide helpful and would like to support our work, you can do so by pressing the Ko-fi button below