Solar Ash All Collectible Locations (Voidrunner Stashes & Lost Journals)
In this guide we will show you where to find all Voidrunner Stashes & all Tarragon Danderpaw’s Lost Journals in Solar Ash.
Crater
Void Runner Stash #1: To the left of the eye that will take you to the next area, you will have to jump across the gap to get to the collectible.


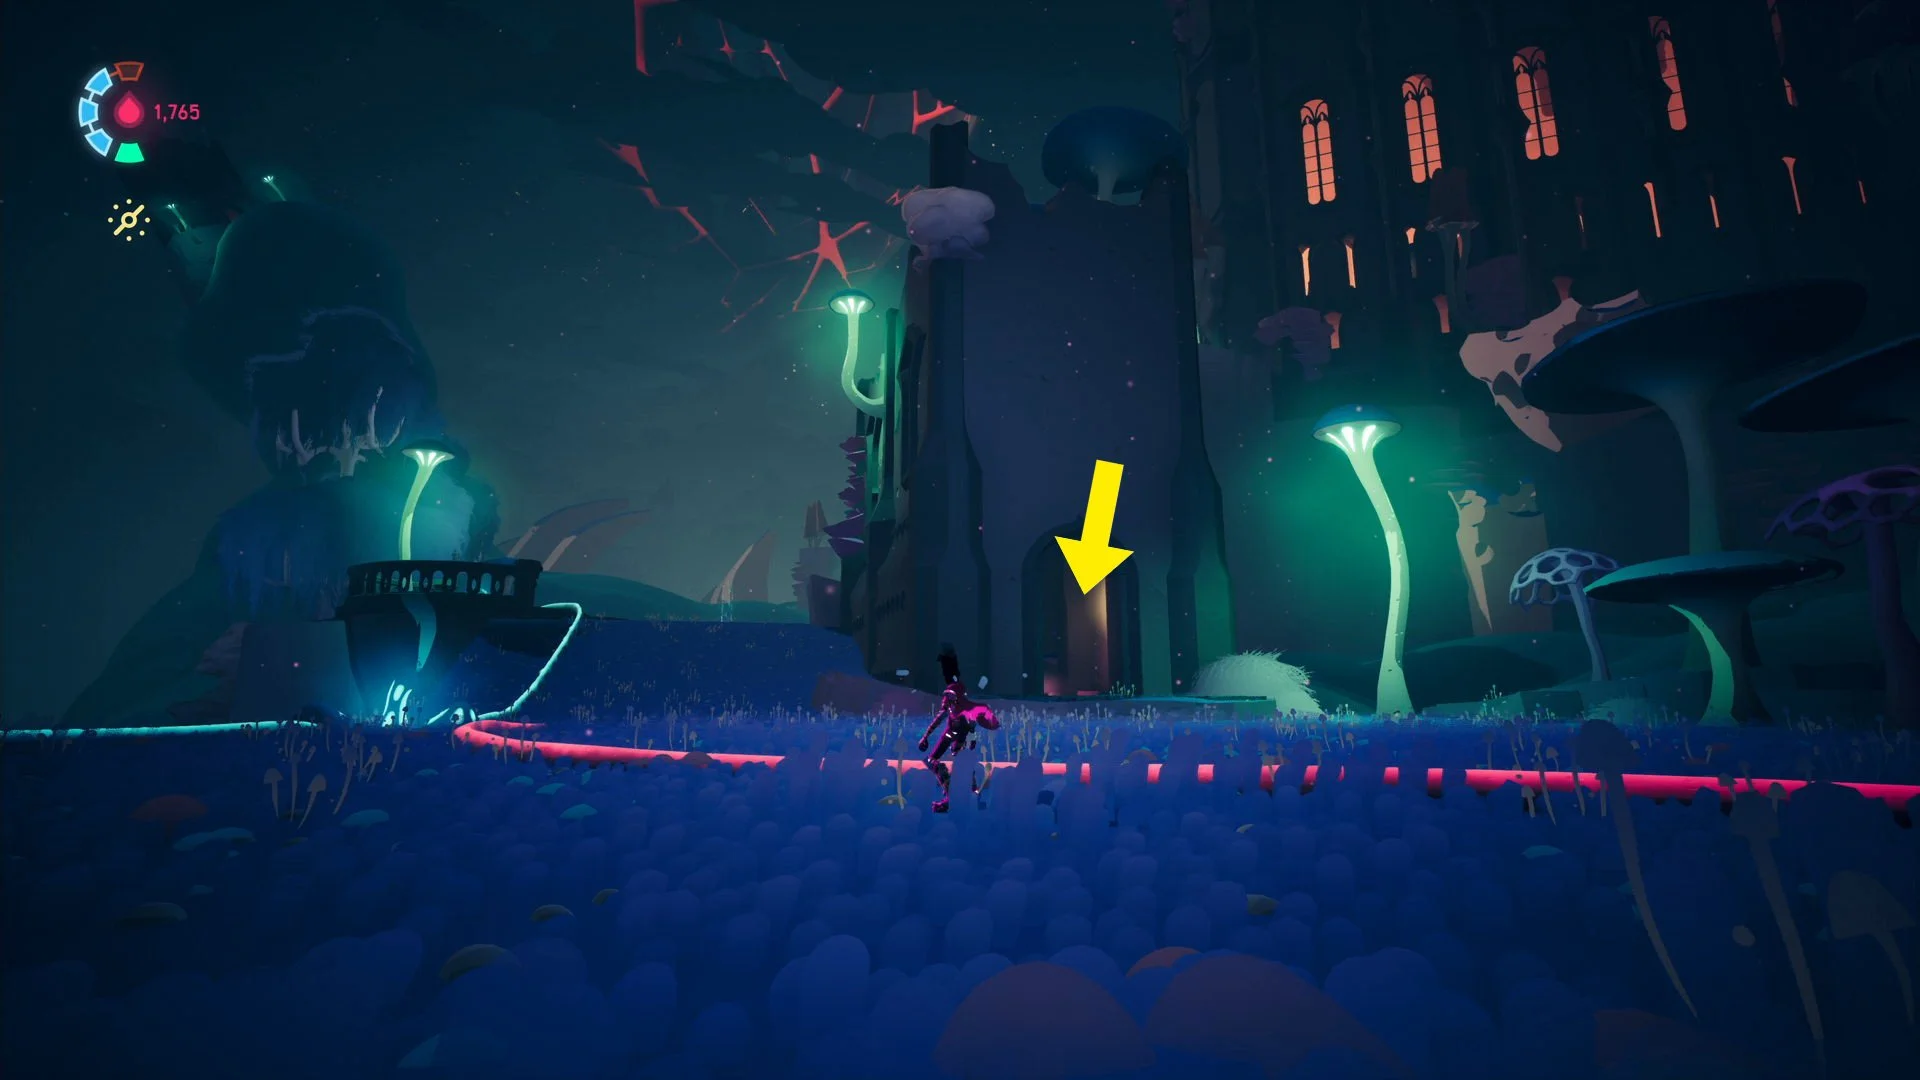
Broken Capital
Voidrunner Stash #2: As soon as you enter the first area head to the right and past the tree with the sign on it, go all the way to the corner to find the stash.


Voidrunner Stash #3: At the end of the first area you will see a tree with an NPC that will give you the first side quest in the game, before heading in to the room with the tree turn around and enter the little room with the rail shortcut, jump out of the window and jump around a few ledges and climb up some black goo to find the collectible at the top.


Voidrunner Stash #4: From where Cyd is, turn around and grind up the rail as if you where going back to the first area, half way up the rail jump off and use the grapple point to climb up the black goo to find the collectible!


Tarragon Danderpaw’s Lost Journal #1: On the bench very close to where Cyd is in The Broken Capital.


Voidrunner Stash #5: From Cyd stick to the right until you see a big rail with a train cart at the top, go up and jump off to the black goo and climb up, then grind along the next rail to get to the end where the collectible can be found.


Voidrunner Stash #6: From Cyd go around the big building in front of her, go up the rail to get to the top of the building, here grapple across and climb up the black good, here use the rail with the sigil on it to jump to the roof of the building below, from here grapple up to the platform next to the sigil and then use the multiple grapple points to get to the roof with the collectible on it.


Tarragon Danderpaw’s Lost Journal #2: From Cyd head to the building to the far right, go under this building through the train tunnel, then up the stairs to find the collectible on a table on the side of the area.


Tarragon Danderpaw’s Lost Journal #3: From Cyd go to the other end of the area, here grind of the 2 rails to find the journal on the roof.


Ironroot Basin
Voidrunner Stash #7: Go up to the building with the “Drozz Harvester”, before entering it jump down to the right and continue along the side of the mountain until you find the collectible.


Voidrunner Stash #8: Go up the stairs to the left of Cyd, then jump over the gap on the next set of stairs, in the next area go around the left staying on the blue clouds, to find the collectible at the end.


Voidrunner Stash #9: From Cyd take a right on to the massive open blue cloud field, at the end go down the hill to the left of the building to find the collectible inside a cave (watch out for the enemy hanging on the wall inside).


Voidrunner Stash #10: From Cyd go up the stairs and then left, next go around the left (or right) of the big building that required the 3 switches to open, the collectible will be behind this building.


Voidrunner Stash #11: Around the left side of the “Drozz Harvester” building.


Tarragon Danderpaw’s Lost Journal #4: In the area above Cyd.


Tarragon Danderpaw’s Lost Journal #5: From Cyd go right and then across the blue cloud plains, the collectible will be inside the little building on the left.


Tarragon Danderpaw’s Lost Journal #6: Continue climbing up the black goo above the house where you picked up the previous collectible, then enter the big building, inside destroy the anomaly to reveal the room with the journal in it.


Tarragon Danderpaw’s Lost Journal #7: Found to the left of the big round building that requires you to press the 3 switches to open.


Tarragon Danderpaw’s Lost Journal #8: Start by heading up the stairs next to Cyd, then up the stairs with the gap in front of you, next stick to the left and grapple up into the area with the mines and platforms, you will find the collectible on a rock in the area below you to the left.


Eternal Garden
Voidrunner Stash #12: Smash the yellow blob next to Cyd and then quickly turn around and go up the massive cloud tower, use the yellow powder to open the door at the top to find the collectible inside.


Voidrunner Stash #13: You will be able to see this one from the area where Cyd is, from here head right and climb the black goo on the back of the giant bone to reach the top where the collectible is.


Voidrunner Stash #14: From Cyd, go left to get to an area with some platforms, jump up these platforms and continue straight to find the stash.


Voidrunner Stash #15: Go to the area below to the right of Cyd, here go to the top of the hill at the far end, from here use the grappling points to get to the stash on top of the building.


Voidrunner Stash #16: Enter the building where the previous collectible was found, then jump down to the dark area below (if you have not destroyed the anomaly down there you will have to first enter through the hole in the main building next to Cyd), once down the hole grind on the yellow rail that goes up the same hole you just jumped down, then jump off half way up and try to land on the mushroom in front of the collectible!


Tarragon Danderpaw’s Lost Journal #9: Go to the area to the left of Cyd, you will find the journal on the hill up to the small building.


Tarragon Danderpaw’s Lost Journal #10: Go to the big area to the right of Cyd, the collectible will be on the round balcony at the top of the hill at the end.


Mirrorsea
Voidrunner Stash #17: From Cyd look for the tall cloud pillar, the collectible will be next to the building behind this pillar!


Voidrunner Stash #18: From where Cyd is look for the same cloud pillar mentioned in the prvious collectible, this time you will want to climb to the top and then go around to the “bottom” side of the cloud, here go up the railing (if the railing is still electrified you will have to clear the “top” part of the cloud). Next look for the sigil and break through the black goo, then hit he plant to grind down to the collectible.


Voidrunner Stash #19: In the same area as the previous collectibe, this time instead of breaking the black goo, continue up to the area where the anomaly was /is, then hit the flower that spawns a root that goes over the little building, then walk around the building and grind that root to the roof where the collectible is found.


Voidrunner Stash #20: Use the flower and the black goo to climb to the top of the circular building in front of Cyd.


Voidrunner Stash #21: From Cyd turn around and make your way back through the level until you get to the area with the really long rail that comes down from the ship, do not use that one and look for the other rail that you used to get up to the ship the first time, continue up until you come across a sigil on some metal platforms, here use the grapple point to your left, continue using the rails after the grappling point to find the collectible.


Voidrunner Stash #22: From Cyd, turn around a look for a plant in the area below, use the root to go towards the area with the white buildings, then use a few more plants to get to the top where you will find the collectible.


Tarragon Danderpaw’s Lost Journal #11: As soon as you get the Mirrorsea title card after leaving Ironroot, on the left in plain sight.

Tarragon Danderpaw’s Lost Journal #12: From Cyd, turn around and stick to the left (heading back to the ship) once you are on the cliffside run, dash and double jump to the lone platform where you can find the collectible!


Tarragon Danderpaw’s Lost Journal #13: Head to the bottom of the cloud pillar in front of Cyd, here use the ramp to jump around and up the rock to find the final collectible in the area.


Luminous Peak
Tarragon Danderpaw’s Lost Journal #14: On the side as soon as you enter Luminous Peak from Ironroot Basin (very hard to miss)
Voidrunner Stash #23: From the previous collectible continue forwards, after opening a “door” with a red blob you will come across a rock with a sigil on it, from here go left and continue around the platforms until you can jump onto the roof of a building, the collectible will be here.


Voidrunner Stash #24: Just before using the rail to get to Cyd take a right, once you see the sigil jump down to the platforms below to find the stash.


Voidrunner Stash #25: From Cyd go back across the railing (like the previous collectible), then go to the opposite edge of the area to see a tower in the distance (location of one of the anomalies), once there use the mushrooms to jump up to the building with the collectible.


Voidrunner Stash #26: Continue through the level after Cyd, you will eventually come to a destroyed building that you go through to get to the ball of lava in the sky, half way through the building you will see a sigil on the right, continue past it to find a red blob on a broken section of the building on your left, hit it and take the charge back to the red plant next to the sigil, then use the root to get the stash.


Voidrunner Stash #27: Once you get to the floating fire ball part, you will run through a long section with spikes on the ground, half way through you will notice the stash on you right, jump across to it and continue past it to the end and hit the red blob to get the spikes to go away, now go back to the stash.


Voidrunner Stash #28: At the end of the big fire ball in the sky part you will go to the next area by grinding a very long railing, soon after you will climb some black goo, the stash will be in plain sight, you will however have to kill some of the enemies that shoot you from the walls.


Tarragon Danderpaw’s Lost Journal #15: For the final collectible in the game you will have to first finish Ahrric's Quest (Guide Here). Once you have done that, use the red blob next to Cyd on the red plant close by, this will spawn a rail that will take you to the Crystal Palace, the final journal will be inside to the right of the elder.


Video Guide
If you found this guide helpful and would like to support our work, you can do so by pressing the Ko-fi button below